This section duplicates the platform's own JS PWA Capsule block and adds explanations on how to add this for various CMS systems.
It is the best way to choose if you have full access to your website, as the Capsule will always work right, independent of how complex your website is.
Adding PWA Capsule
After you name your app and dd an icon in Settings.
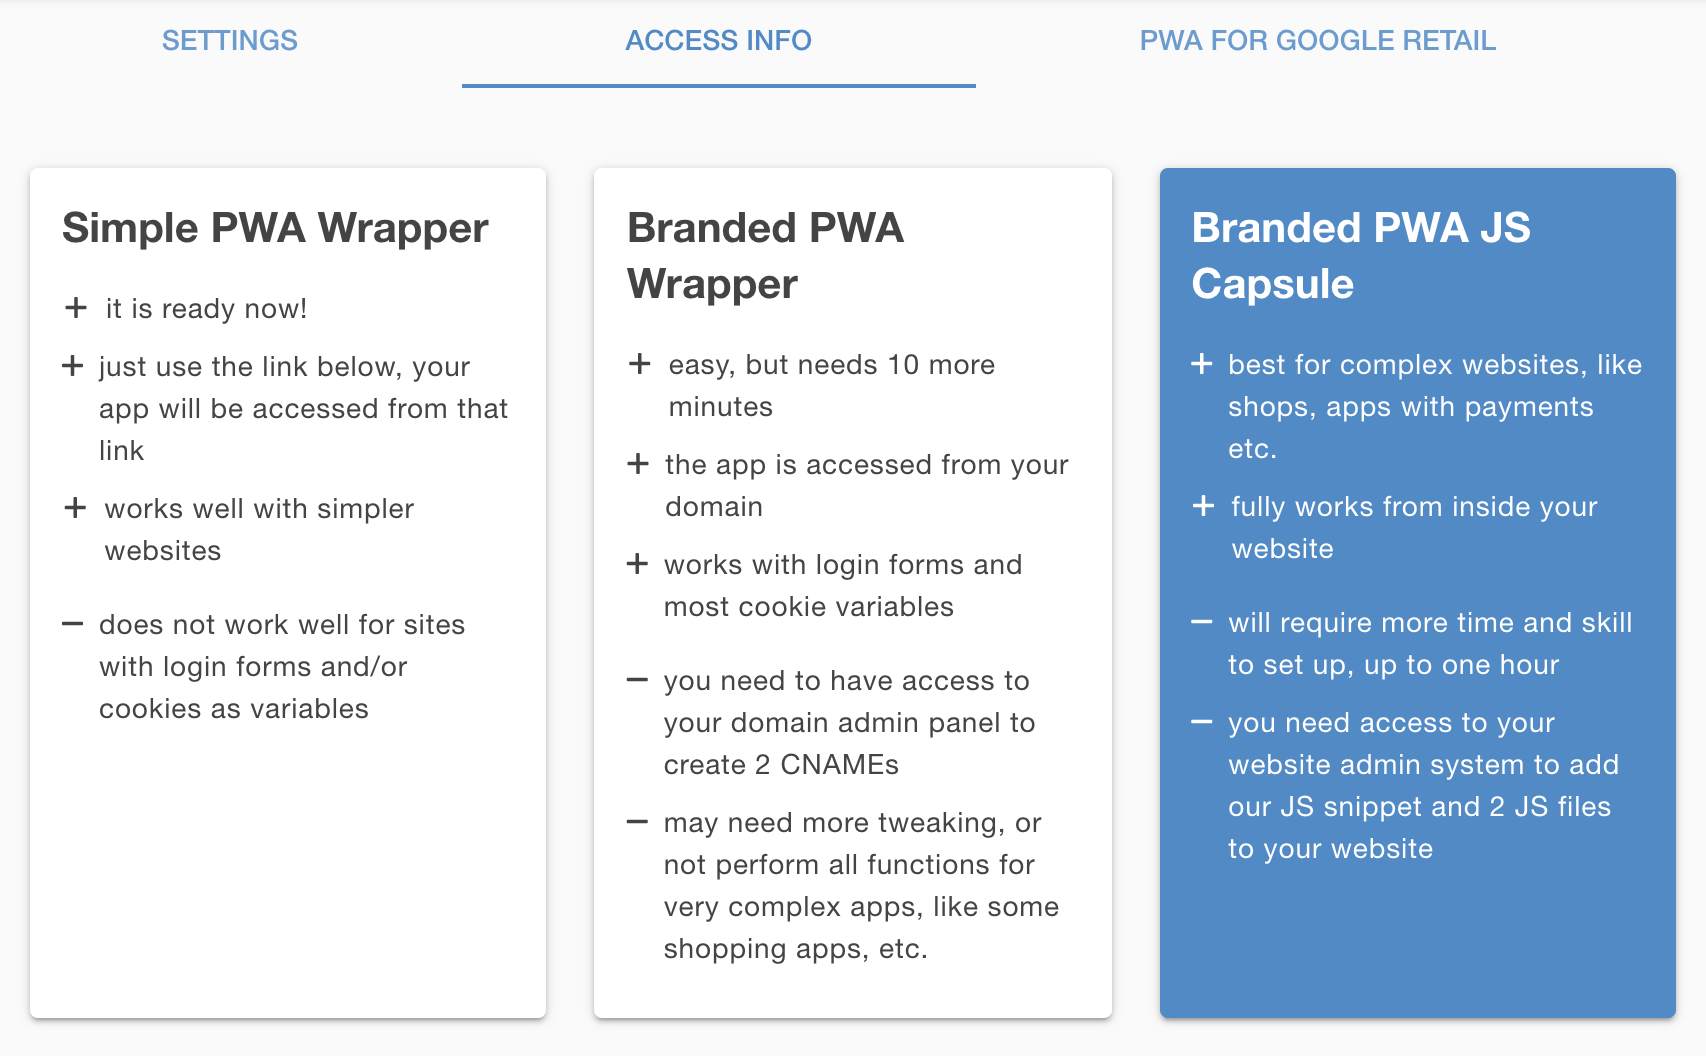
Select "Branded PWA JS Capsule", marked blue ↓
Go to the admin panel of your website and copy/paste the pre-made JS snippet into Header or Footer of your website. It already has everything needed, like your account and app IDs

Download an archive with 2 JS files - ⇲ here or by pressing the button, shown below. And unzip it.

Go to ROOT folder of your website in admin panel and add these 2 JS files to it.
Check if files are added alright by typing any of 2 following URLs into a browser:
- https://yourwebsite.name/PWALessSDKWorker.js
- https://yourwebsite.name/PWALessSDKUpdaterWorker.js
If all is ok, you must see the following line on the screen, for each of the URLs above:
importScripts("https://cdn.mobsted.com/PWALessWorker.js");
Creating "App Saving" Prompts
These prompts are called widgets, you can have as many different saving points per each app as you want. It is recommended to have a specific app saving purpose for each.
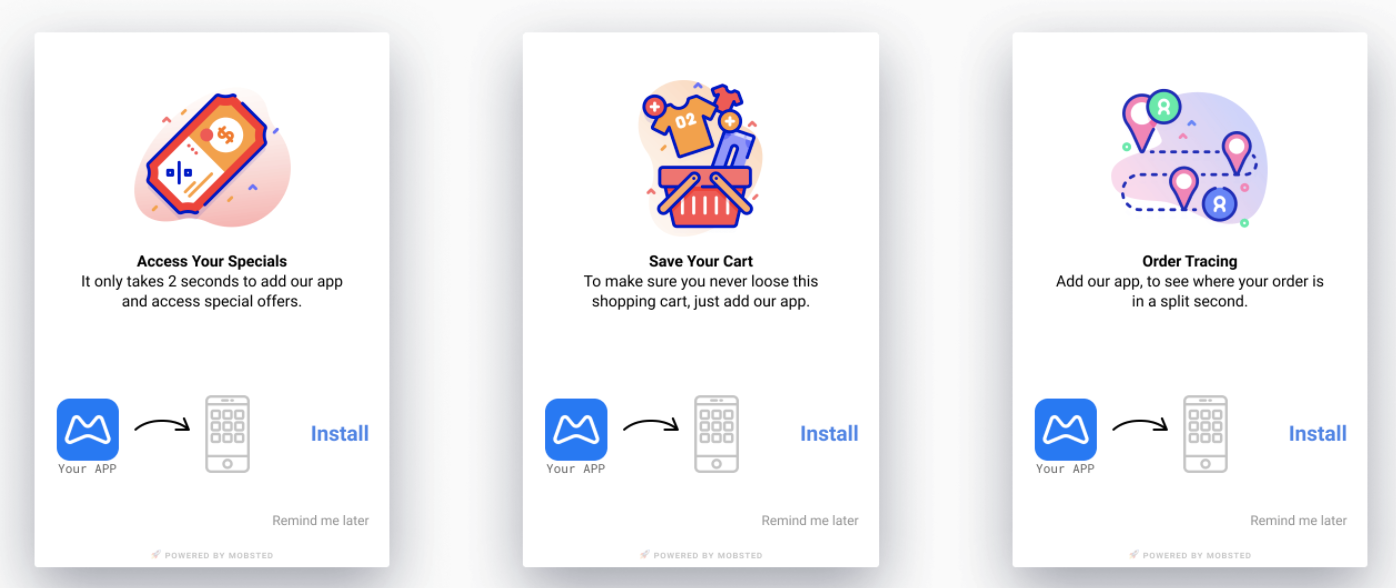
For example, it makes sense to offer saving a shop's app to have quick access to specials, or to save the same app after the order was made - to track it easier. See examples below:
You can open this from the same page in app settings you are on by pressing -  ,
,
or you can always return to it by going inside the app on the home page (M logo in the top left corner) and pressing Widgets section amber ↓, then by opening Capsule widgets green section ↓.

Create a new widget by pressing the green button ↓

Name this widget, you will use the name, later on, to call it on your website:
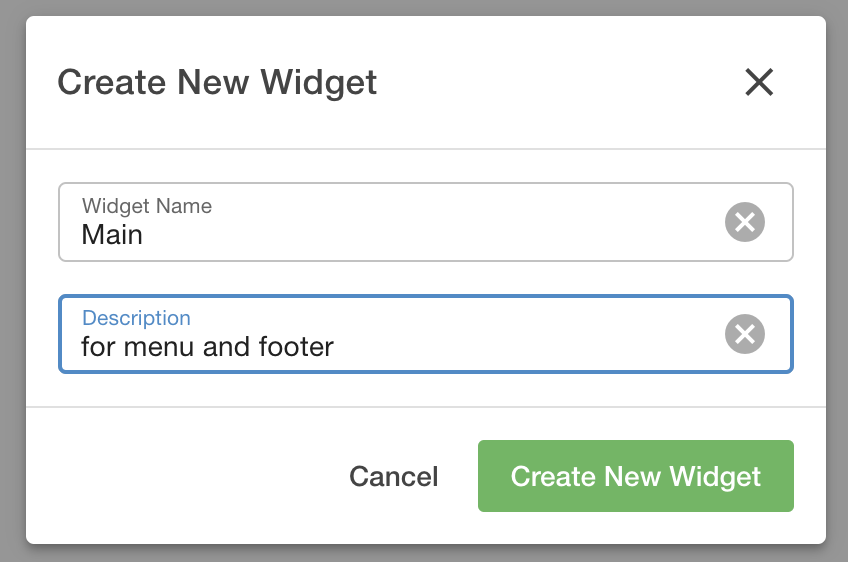
The description is for internal use only.
Your first widget will appear :
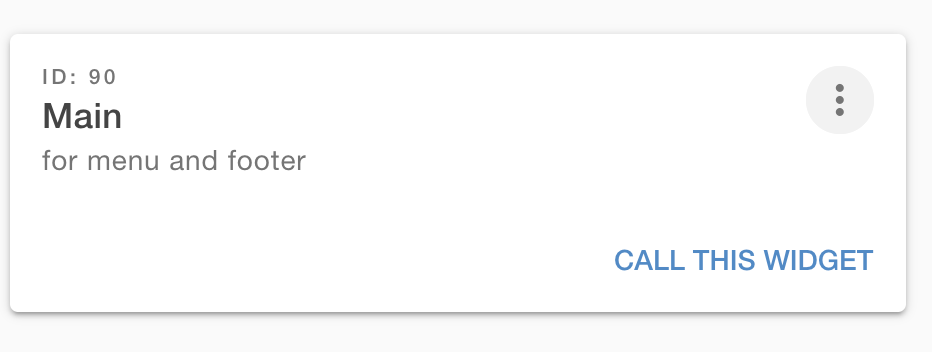
To call this widget on your website press the blue button ↑ - Call this widget. You will see how to call upon this particular one:

Note the name we gave to this widget is marked green ↑ . The same call works for every widget, just use the name of the one you are calling.
Click the Widget's card above anywhere to open its set up:
Enter a link to an image you want to use as a visual explainer of why to save the app into the red block ↓.
Enter text description as to why to save the app into the amber block ↓ .
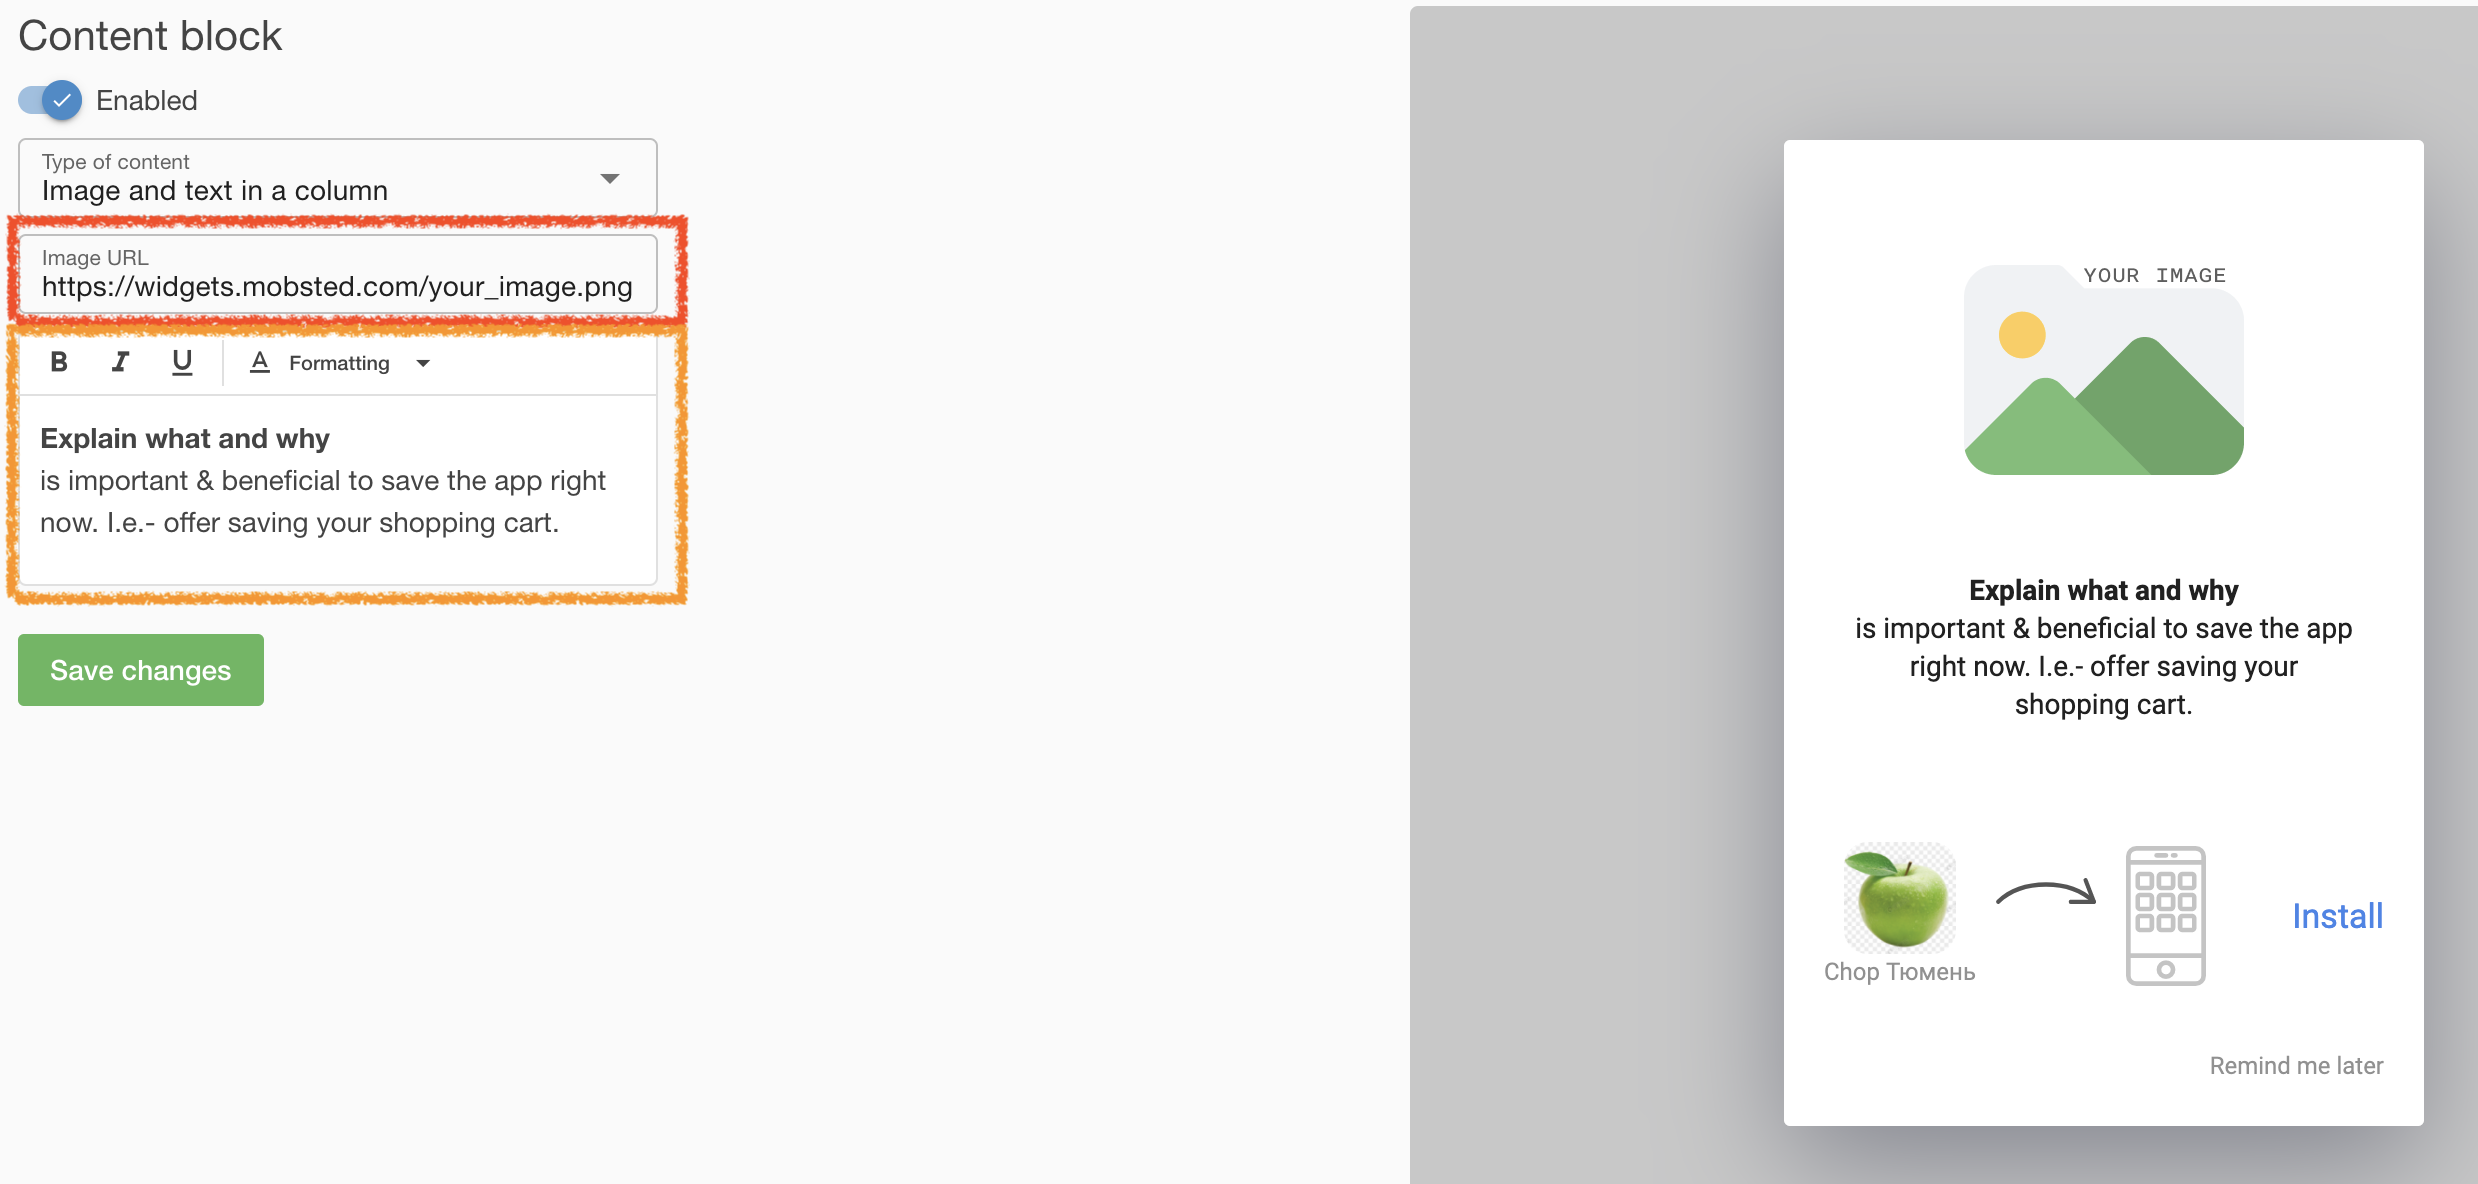
Note that you can preview how this installation prompt will look on your right → hand side.
Adding "App Saving" Prompts to your Website
An example - Simple Button
Show this app saving widget when a user presses a certain button, in this case, "Install App" button.
<!-- Custom button anywhere on the page -->
<button onclick="pwaless.showWidget('main')">Install App</button>
You can call these widgets anyway you see fit, for example, based on user actions (like a button) or using timers and as a part of a workflow, like "Something is added to a shopping cart"
An example - Auto Hiding Button
It is the same button, but it will hide if a user visits your website and already has the application installed.
The only difference with the previous example is an HTML attribute added: <button pwaless onclick ...
<!-- Custom button anywhere on the page -->
<button pwaless onclick="pwaless.showWidget('main')">Install App</button>
NOTE - the attribute "pwaless" will work just as well on any other HTML element, as it does on buttons.
Recommended Use
It makes sense to keep the "App Saving" abilities of your website visible, so people can share it, in places like the bottom block of your website. So do not add the "pwaless" attribute.
But, for pop-ups, notification bars, site menus, and logic-related prompts (like saving after a purchase is made) it is recommended to use the Auto Hiding function.
Final Check List for your website
Now you should have:
- Added JS snippet to header or footer
- Added 2 JS files from archive to root
- Added a call of the app saving widget/prompt