| Table of Contents |
|---|
You can create Operations to be run based on any data that changes within your app. For example if a new event is created by a user, like a "New Order", or if any data within your app is updated, like payment balance, or order status, etc.
In this article, we create an API operation Operation for one of our builds in Application (DemoApp). It default learning apps -DemoApp, which you have in your account. This Operation will update one of the objectsobject's data fields using the Filer-Trigger-Operation sequence. You can also reference Triggers article, if needed.
Creating operations
1.
Go to API Operations (GREEN MARK) section on the Top Menu of Mobsted platform
2.
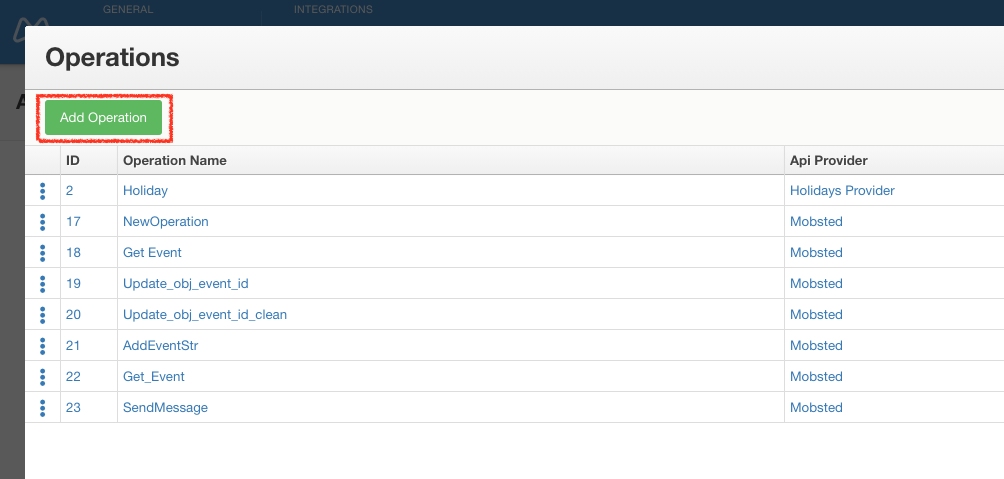
Click Add Operation (RED MARK)
3.
Click Mobstedv8 (RED MARK) to see the list of available API methods.
Choose 1.6 Updating Object data (GREEN MARK)
Name your new operation (ORANGE MARK)
картинка
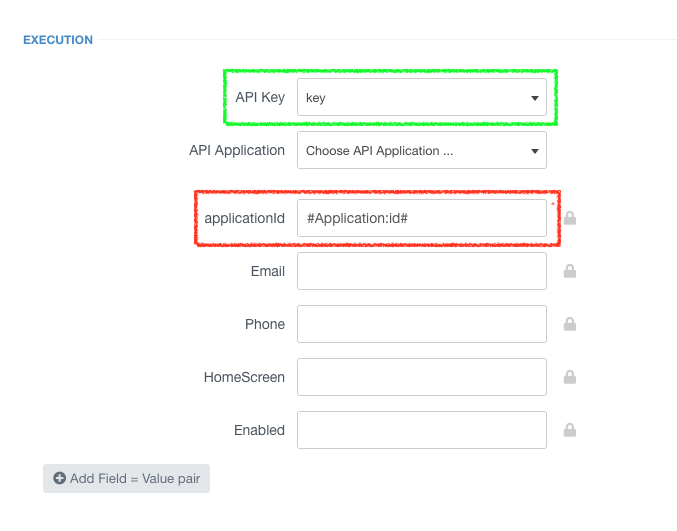
Fill in applicationId - #Application:id# (RED MARK)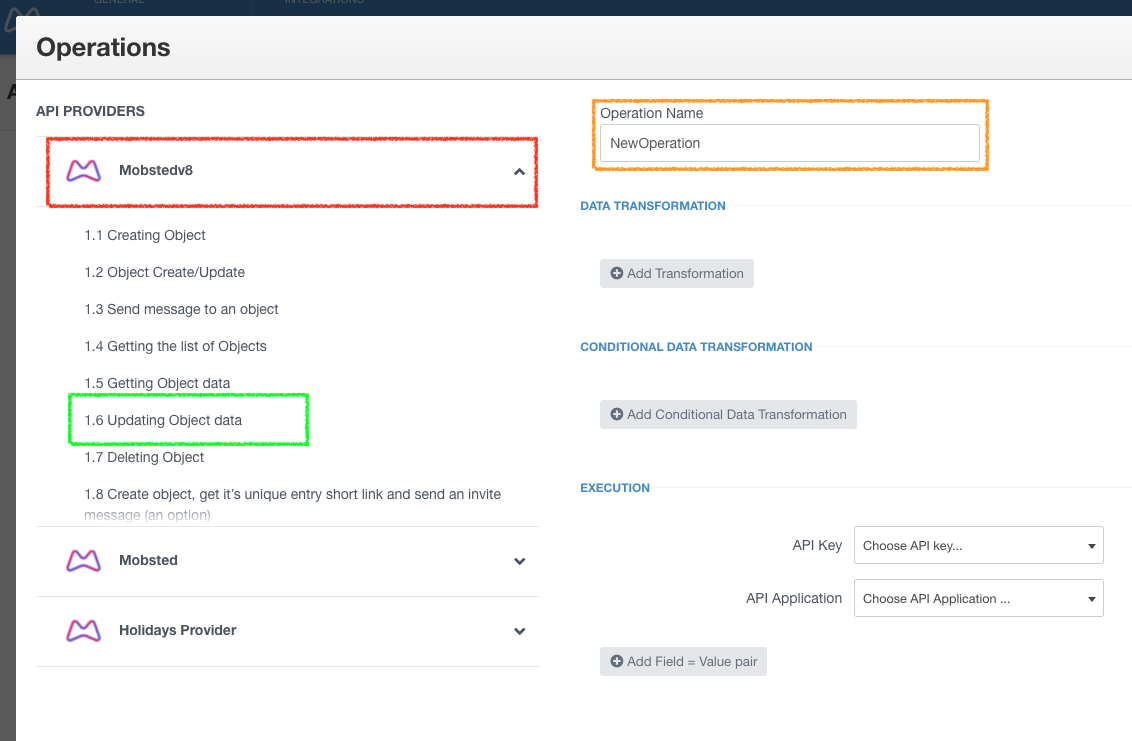
4.
Choose Available Key in API Key drop-down (GREEN MARK)
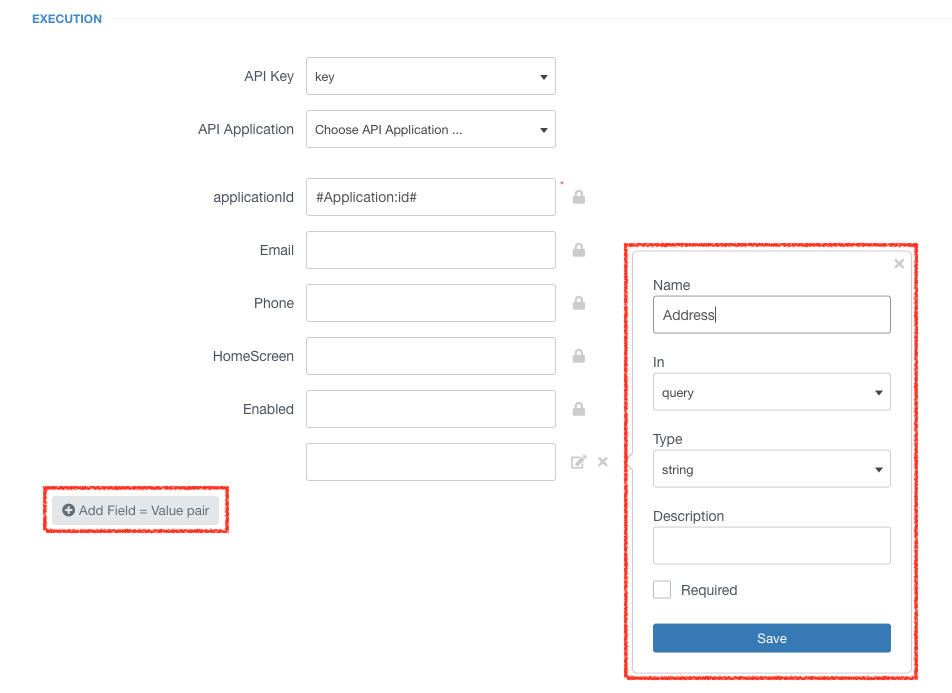
Fill in all required fields (RED MARK ↓). In this example we have only one required field, another API method can have other fields. As a value in the field you can use static data (number, string, etc.)
...
or Hashtags as a dynamic data source (in the Hashtags article you can learn what the #application:id# reference does).
5.
Click Add Field = Value pair and fill in the fields (RED MARK ↓), click Save
 картинка
6.
Fill in the new field Address (one it is the name of the object's columns in Demoapp)DemoApp) with any info you want to be saved into that column by the Operation.
Click Save Operation (RED MARK ↓)
картинка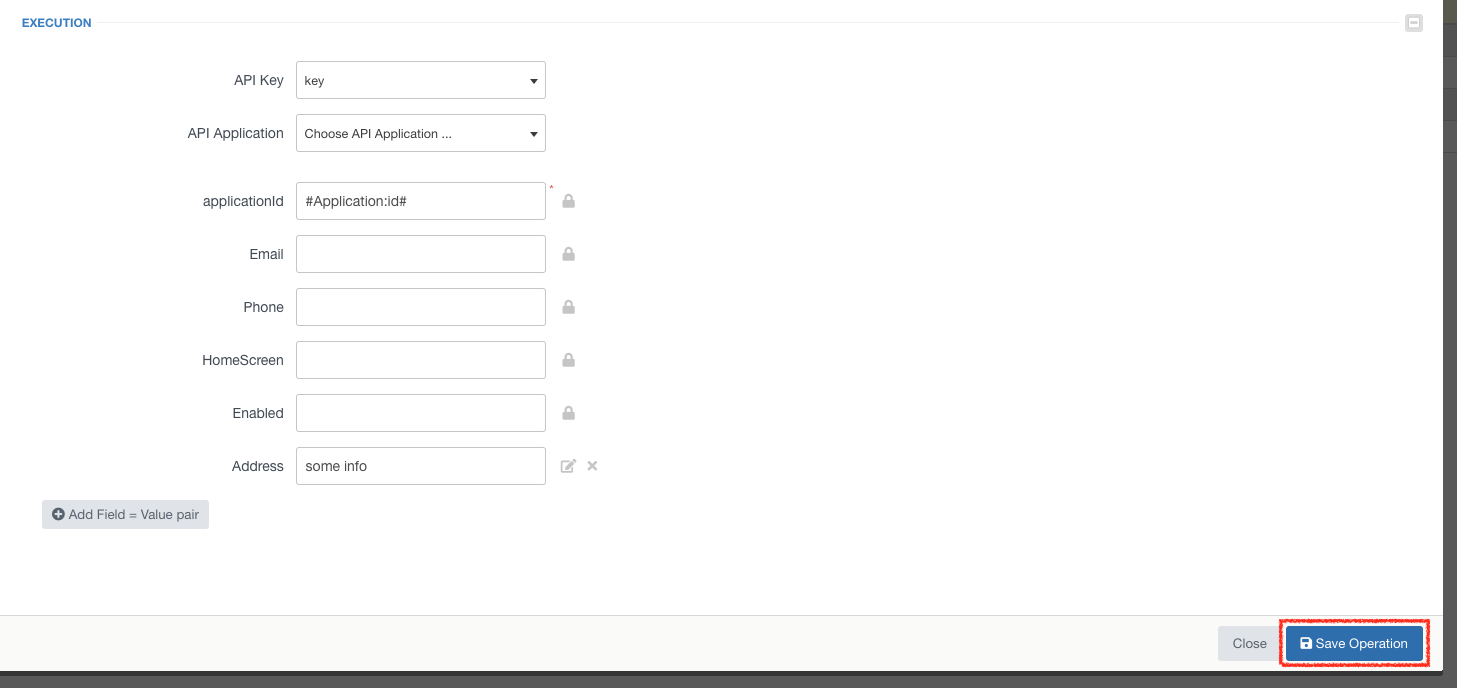
7.
Close Operations window
The operation is ready to use in the trigger or in the mobile app as Action.
Configure Filter and Trigger
Now, we need to setup filter and trigger to add the Operation we made above, which will be automatically run by our app.
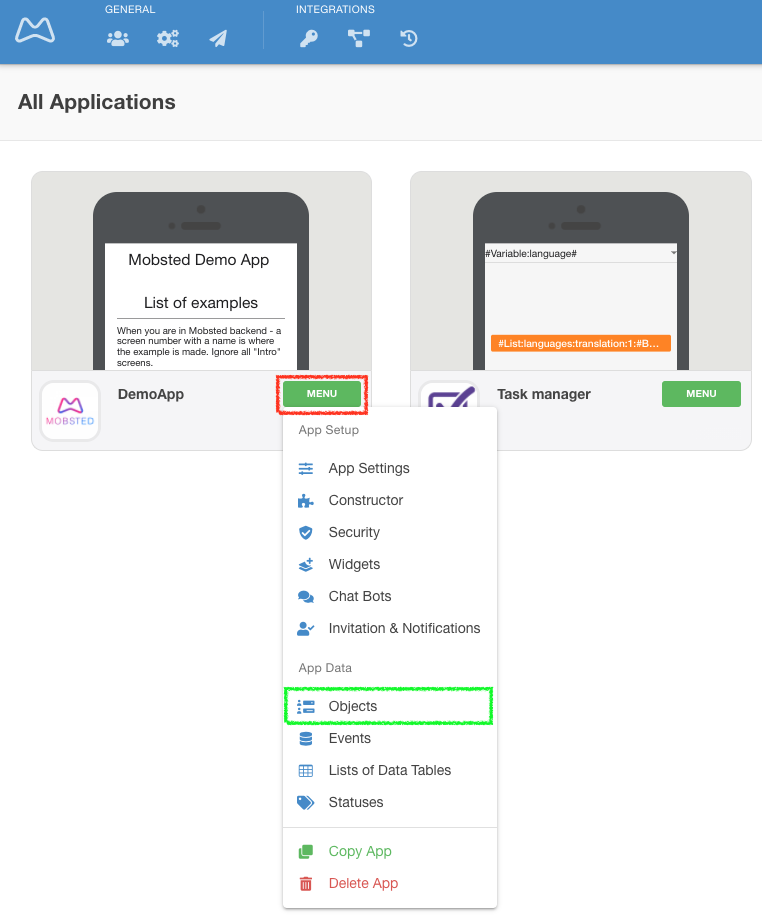
8.
Click Menu (RED MARK) and select Objects (GREEN MARK)
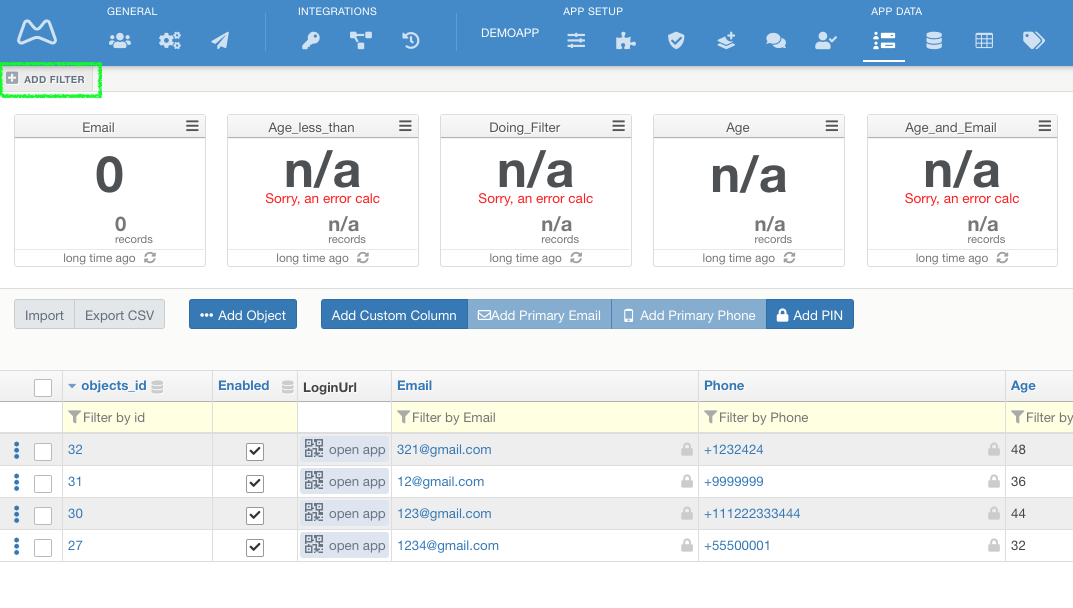
9.
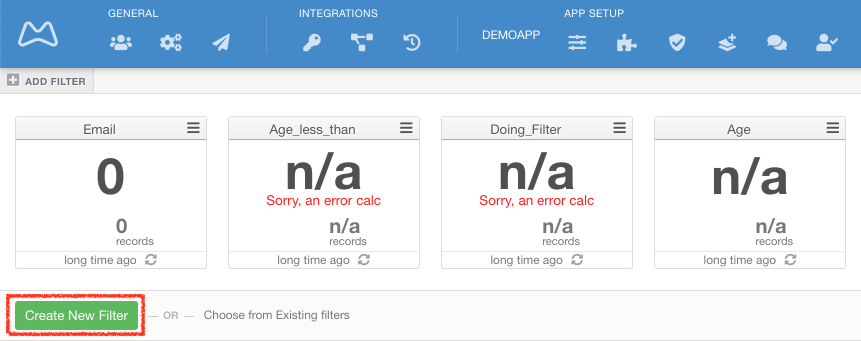
Click Add filter (GREEN MARK ↓)
10.
Click Create New Filter (RED MARK ↓)
11.
| Anchor | ||||
|---|---|---|---|---|
|
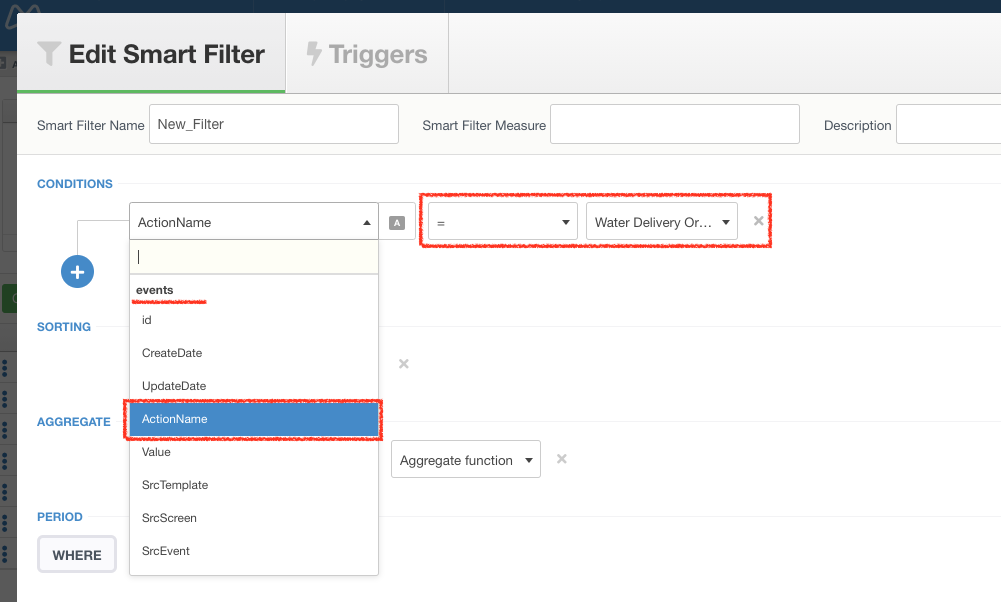
Configure your new filter.
Choose ActionName in events section (RED MARK ↓) and equals + Water Delivery Order in value section (RED MARK)
12.
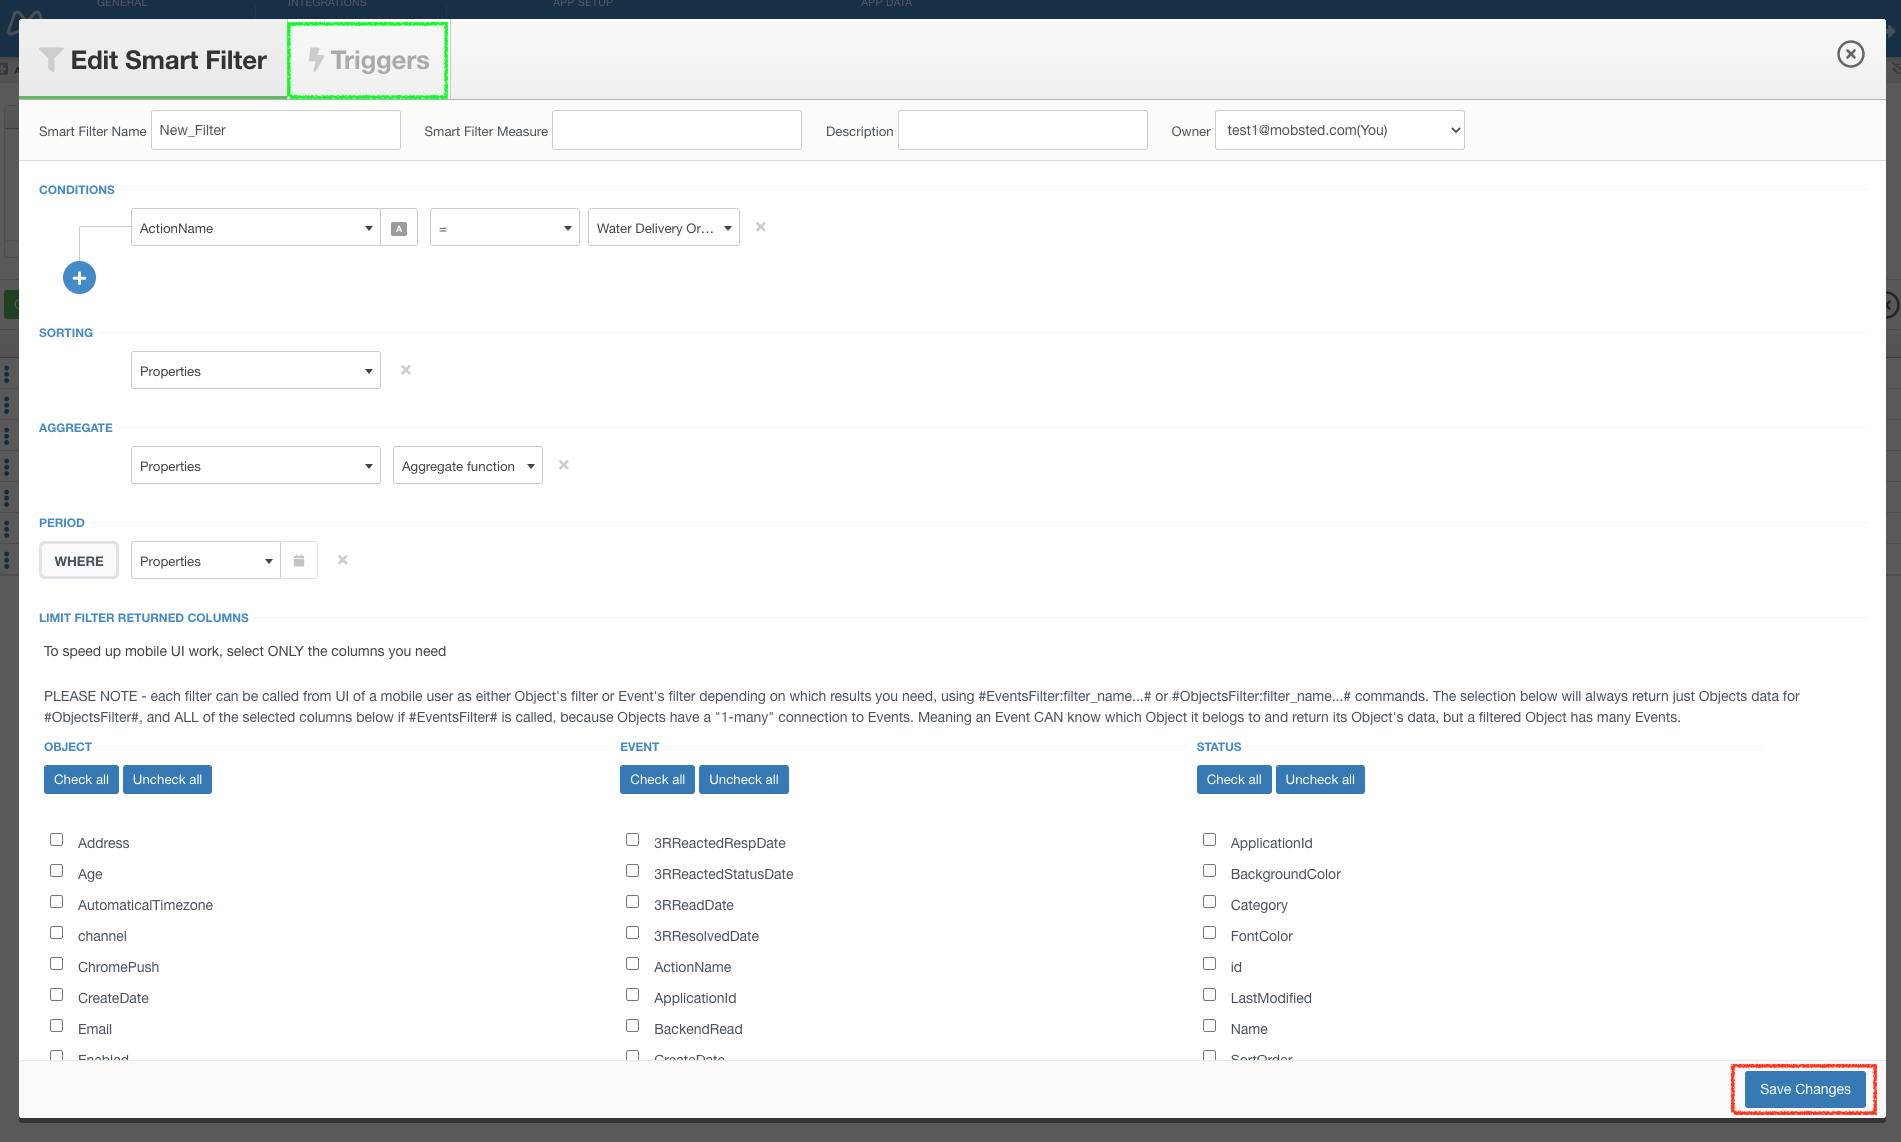
Click Save Changes in Filters tab (RED MARK) and go to the Triggers tab (GREEN MARK)
13.
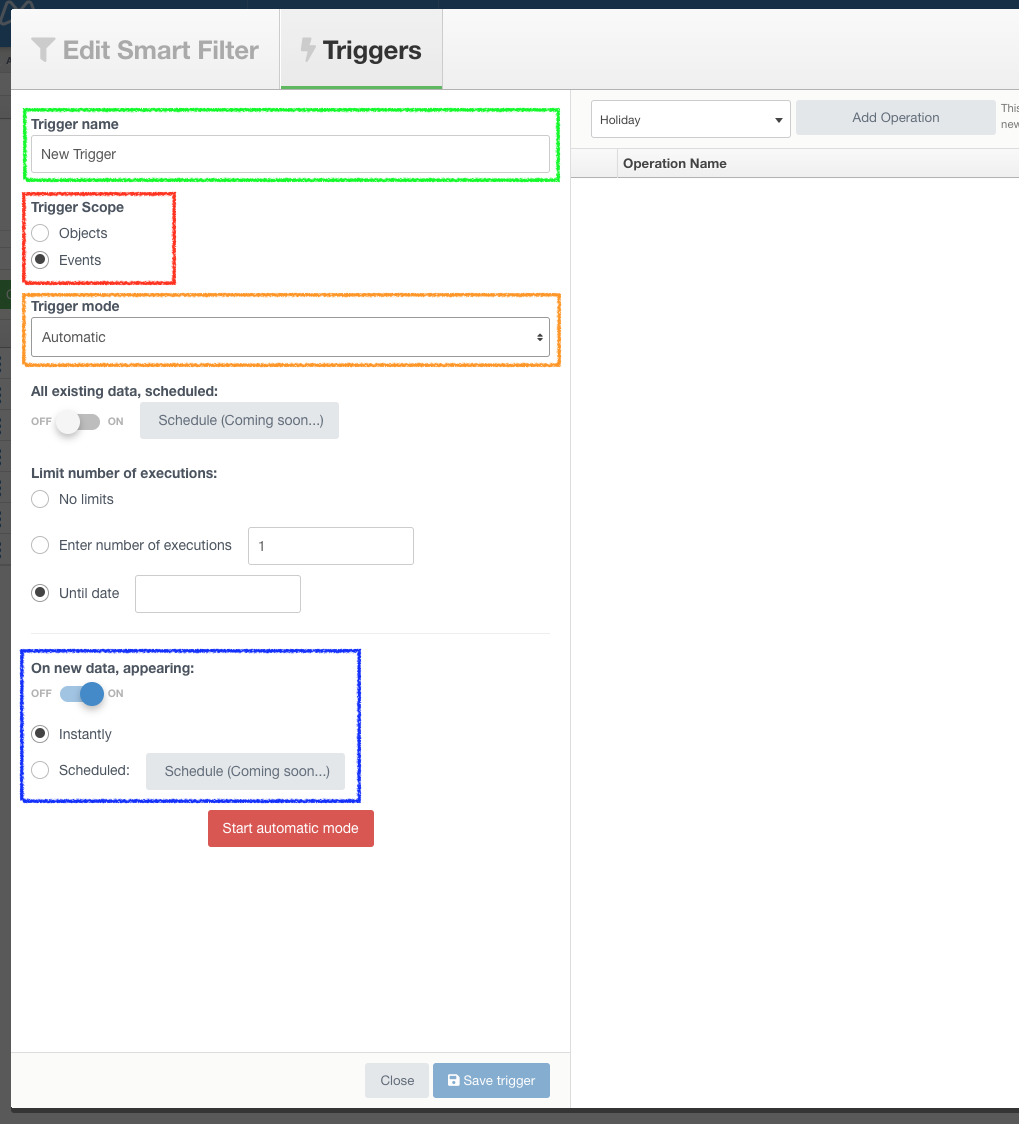
Click Create new trigger
- Configure your new trigger
- Name your trigger (RED MARK ↓)
- choose Events in trigger scope (GREEN MARK)
- choose Automatic in trigger mode (ORANGE MARK)
- choose Instantly in On new data, appearing (BLUE MARK)
- click Start automatic mode (Red button)
14.
Choose UpdateAddress operation in the drop-down and click Add Operation
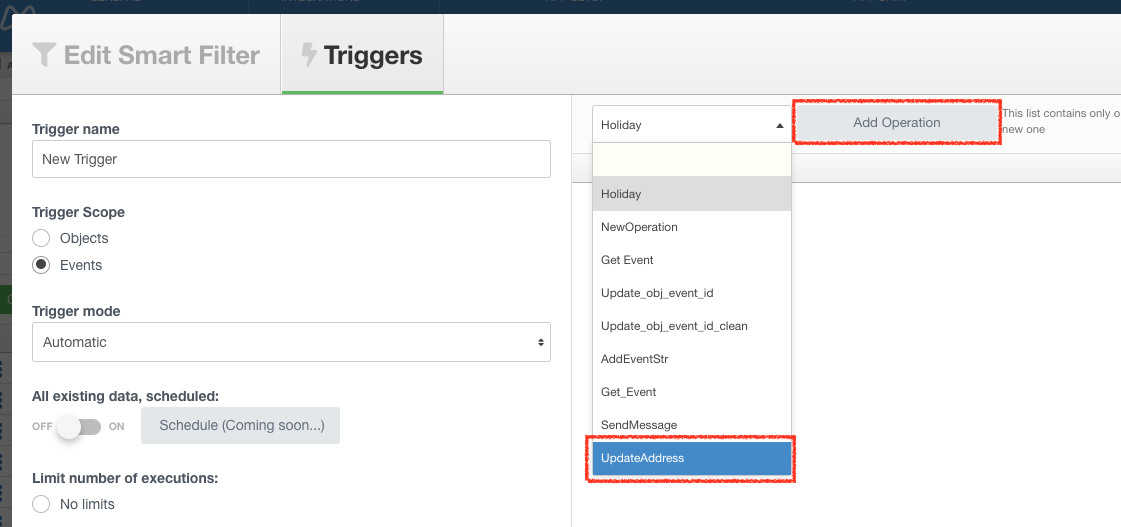
Close filter's window
Done, now let us check how it works.
Checking the result
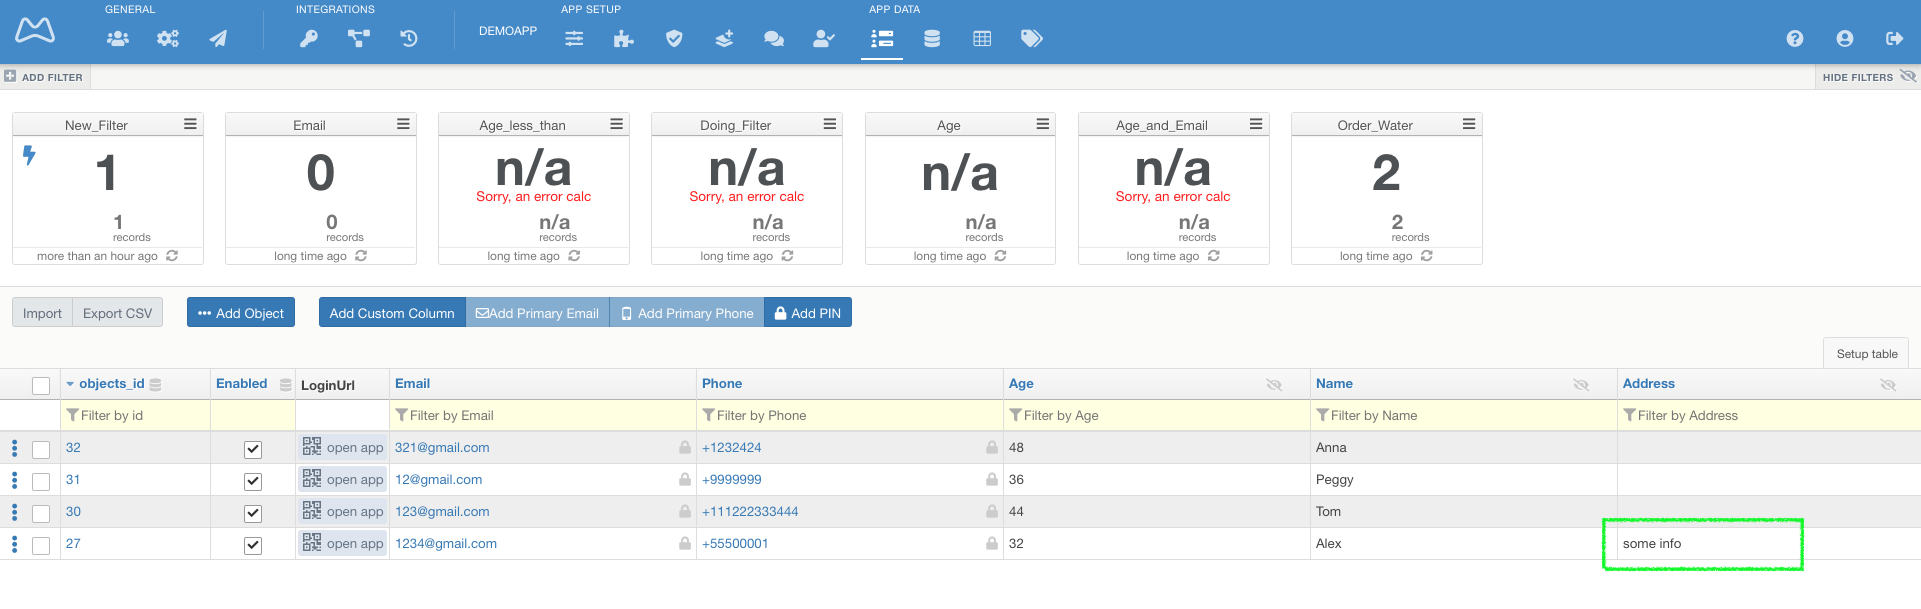
You are in the Objects section.
15.
Open the app for any object (RED MARK).
Make sure that all cells in column Address are EMPTY (GREEN MARK).
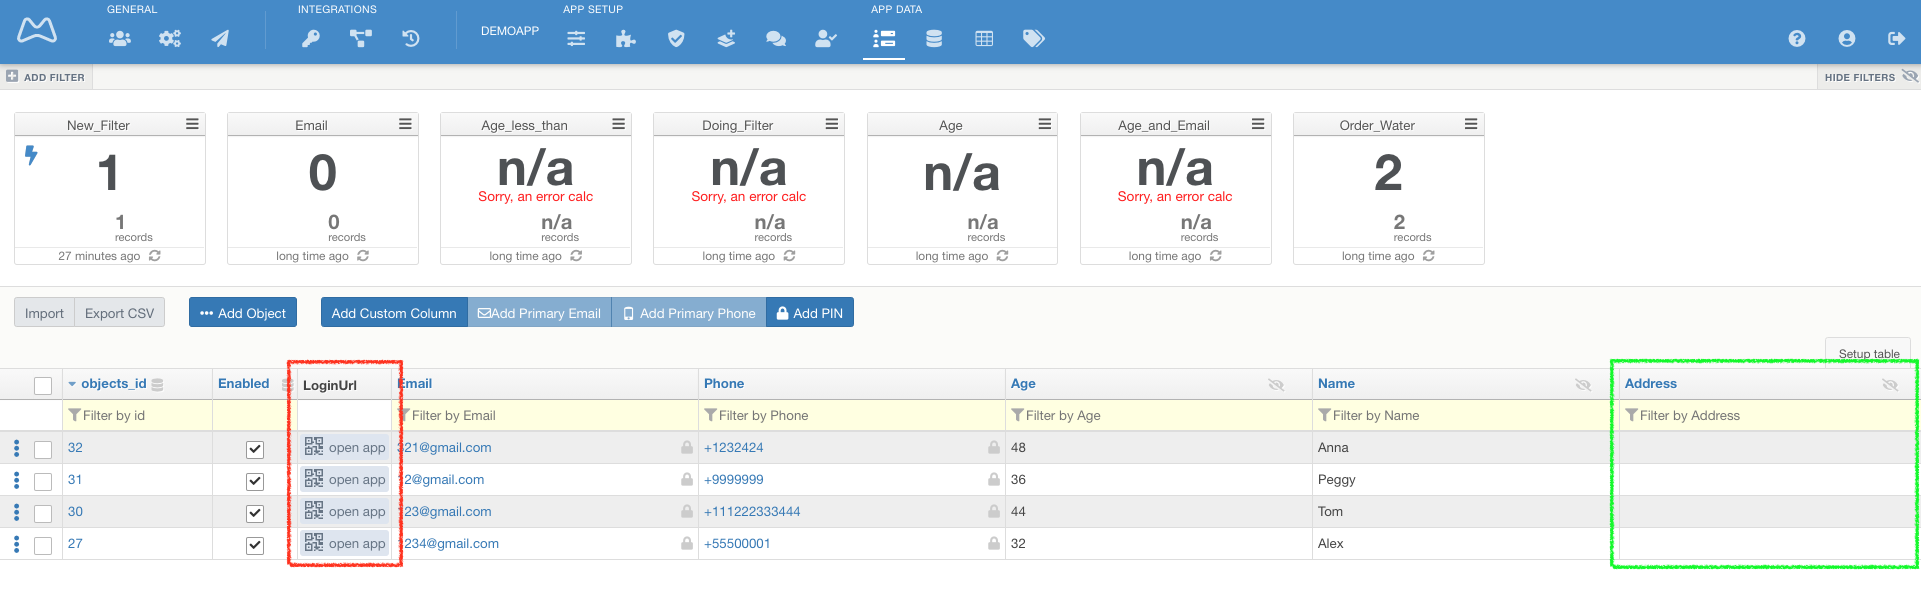
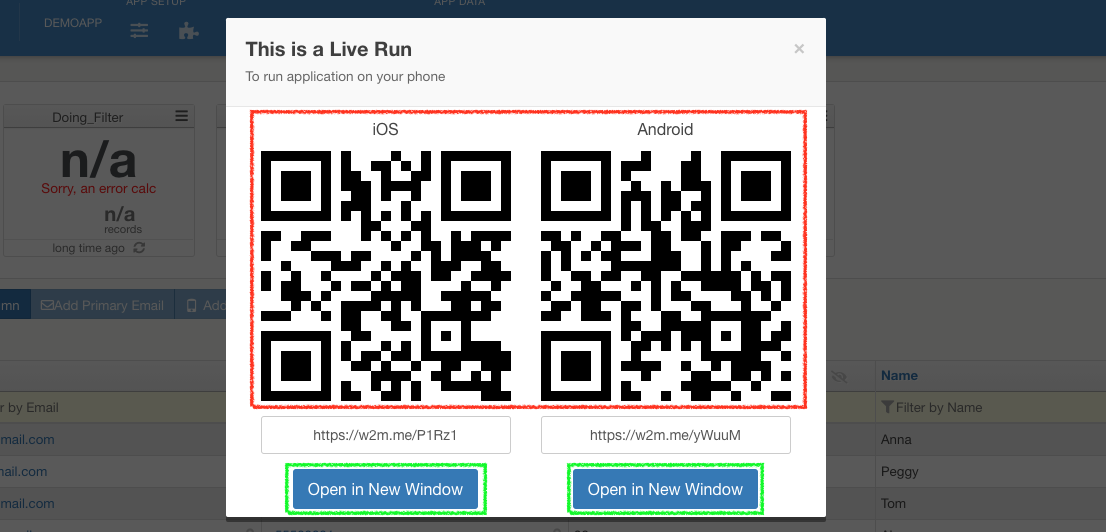
To open app in your desktop browser(GREEN MARK) or in your mobile - scan QR (RED MARK)
16.
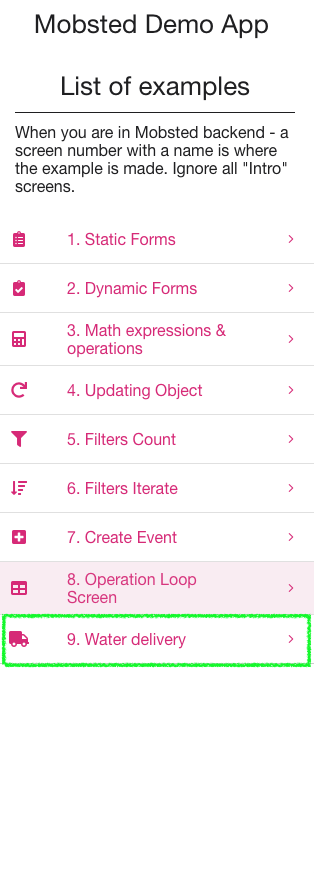
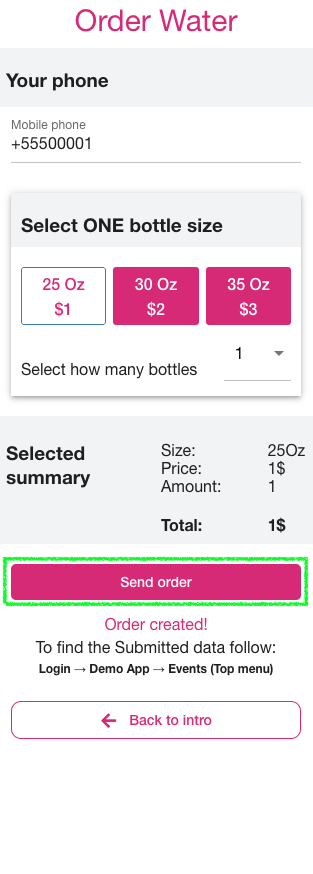
Go to Water delivery page of the Demoapp and make an order. In few seconds trigger will check the new event with ActionName = Water Delivery Order and execute the chosen API operation (UpdateAddress). This ActionName is assigned to a button in the Demoapp. If you refer to point 11 above - we did set up Filter to look for it.
17.
Go to the Objects in DemoApp and find the updated cell in your objects' column.
Done.