To see that a messenger or Push works you need to connect a messenger to a test object.
| Table of Contents |
|---|
1. Choose an object, from which you will make a check
2. Setup widget for users to select a messenger
a. Open widgets

b. Setup a default widgets for messenger bots
...
i. The widget settings above makes it pop, every time a user enters the Home page.
3. Enter the app as your selected testing user/object:
a. open objects
b. The LoginUrl column allows running the app as any of these objects/users. Click the “open app” on the one you need
...
e. You device will have your app’s Home Page appear
4. Wait for the widget to appear.
If it does not - check that you did not set any delays at all. Also the widget may not pop if you are doing this for the second time and did press “show me in 2 weeks” or “remind me later”, which is done not to annoy users ( in this case the widget can be called again after 15 minutes timeout).
...
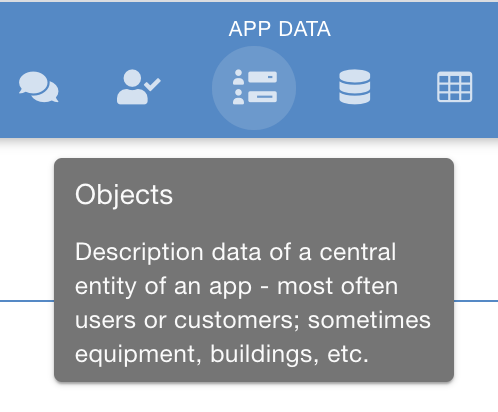
Note that this pop up automatically shows all messengers, which bots are connected to in the Bots section of the platform.
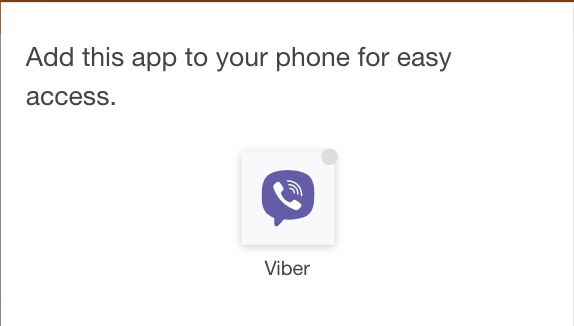
5. Press an icon of the messenger you want to test.
It MUST BE INSTALLED on the device where you are testing.
6. Press a Start button in Messenger or type and send any text to start a bot connection.
7. As a response you will get a welcome message and a link to your app
8. Now this user/object is connected to a messenger bot and you can send messages to it.
To see which channels/messengers are already conencted to each user/object you can in Objects tab of the platform. Column names are ViberChannel, FacebookChannel, Telegram Channel, VKChannel.
...
d. These columns will be added to your Objects grid table.
9. Send a manual message to your test user/object
a. locate a user/object which you have connected a messenger bot for at the steps above, it will have this green switch ON.
...
h. the message will now be sent to the selected object
10. Wait for the message to appear.
It could come with a delay, depending on the actual servers load and network congestions.
To see that a messenger or Push works you need to connect a messenger to a test object.
| Table of Contents |
|---|
1. Choose an object, from which you will make a check
2. Setup widget for users to select a messenger
a. Open widgets
b. Setup a default widgets for messenger bots
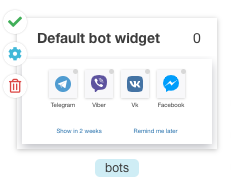
or create a new one

c. Use setup button to get into settings
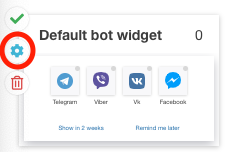
d. the setting window will open
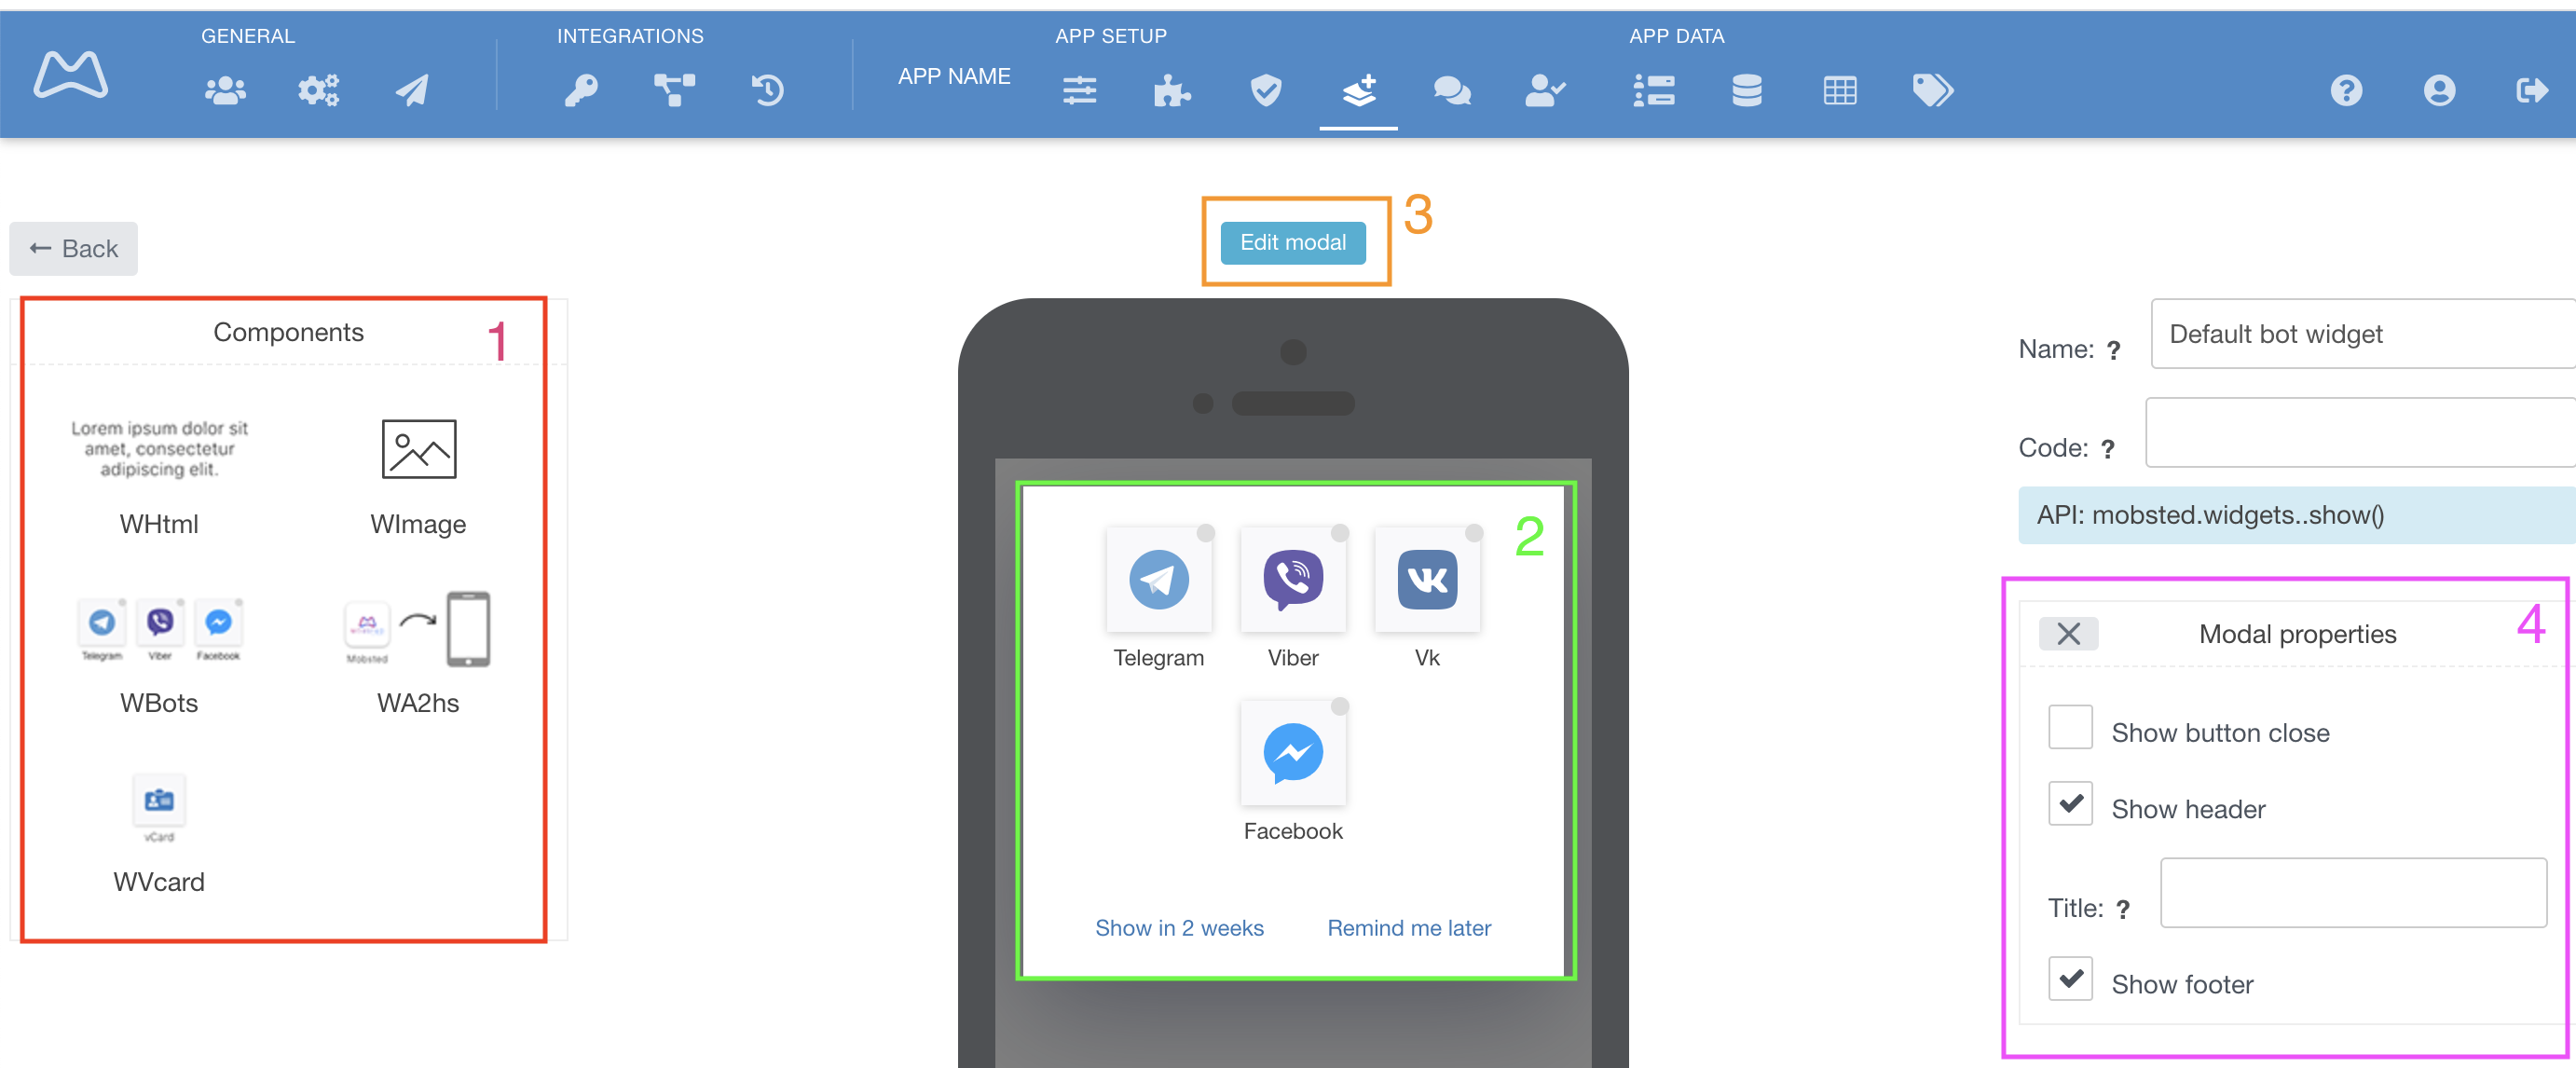
You can set up content and looks of any widget. System Components which you can make a part of the widget a marked red 1. To add a new component - simply drag and drop it into the widget’s view on a phone, marked green 2. To setup the content of widgte’s modal window press - Edit modal, marked orange 3, you will see a window open with modal’s properties marked 4, where you can choose if this widgets will have a Header, Footer and a Close button.
e. Click into a white area and then press GREY “← Back” button when you done editing, to save changes and get back to the Widgets screen.
f. Now, setup scenarios of how and why and when this widget needs to be shown in your app.
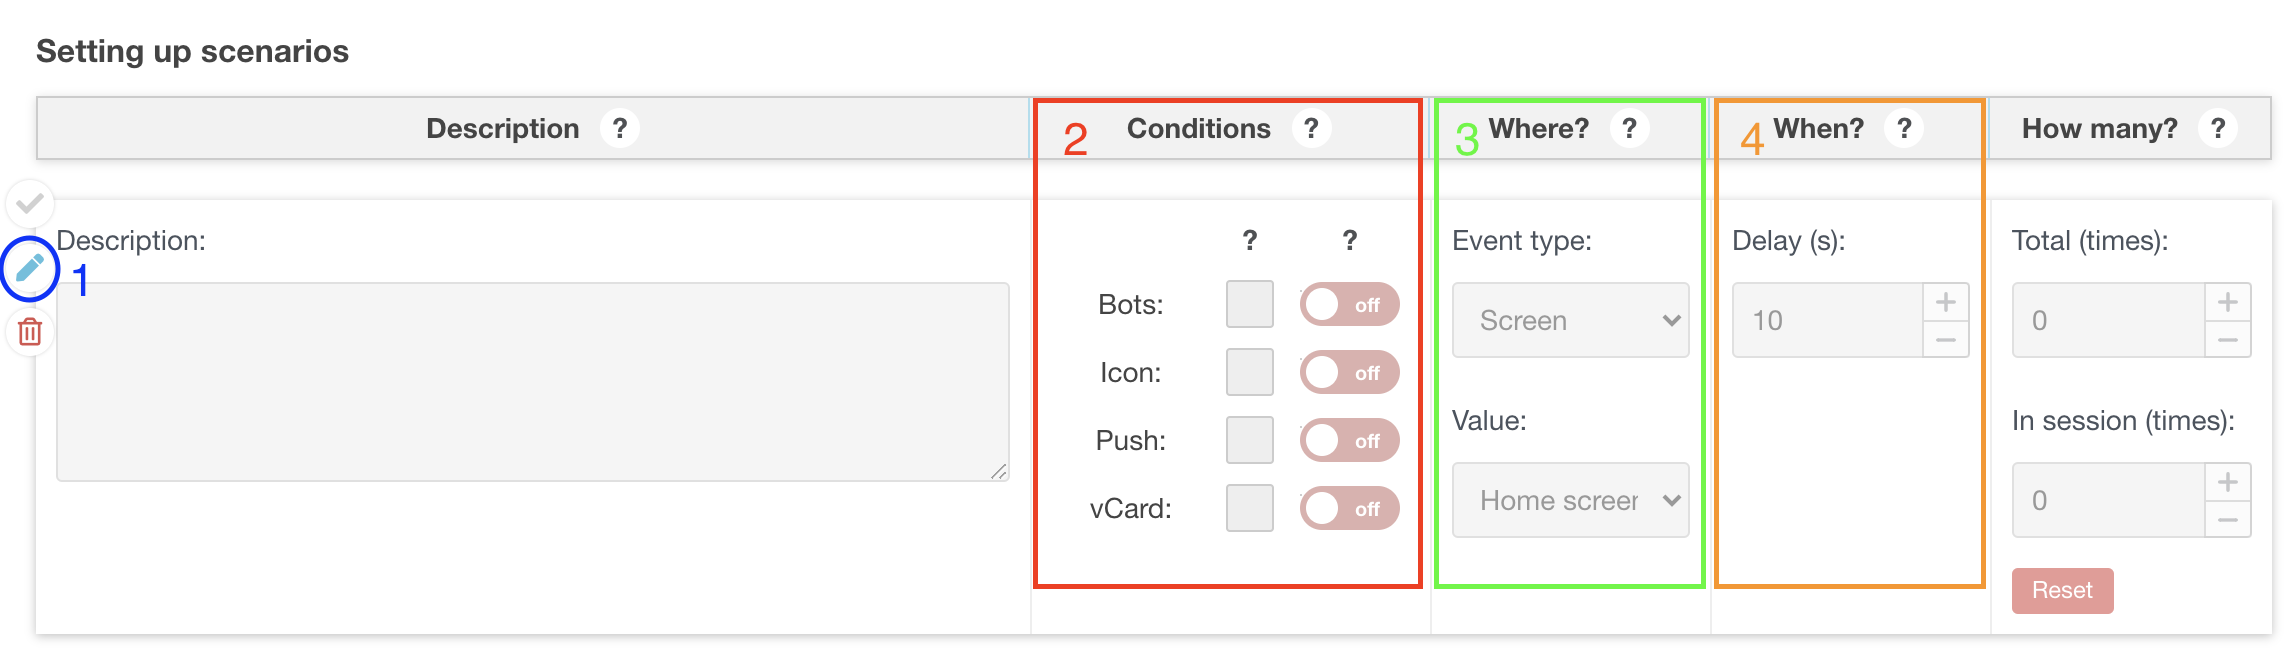
To start editing press a Pencil button marked blue 1. “Conditions” (marked red 2) allows setting up IF widgets pop up based on what each user has done, or not done, before. Note, that a text below this blow duplicates meaning of all switches into human words:
“Where?” (marked green 3) sets up a spot in your app for widget to appear. It has 3 options:
Screen - means a screen upon visiting which a user will see it,
Action - allows you to set some variable from the user session upon conditions of which the widget will pop,
Hit counter - number of screen taps after which the widget will pop
“When?” (marked orange 4) allows setting up a delay in seconds AFTER the conditions of “Where?” is already triggered.
The last block - “How many?” - limits the number of times pop will be shown in session or in total. Zeros mean no limit.
g. Setup scenarios for your bots widget to work on Event type = Screen, and Value = Home screen (or any other screen of your choosing). It should look similar to this:
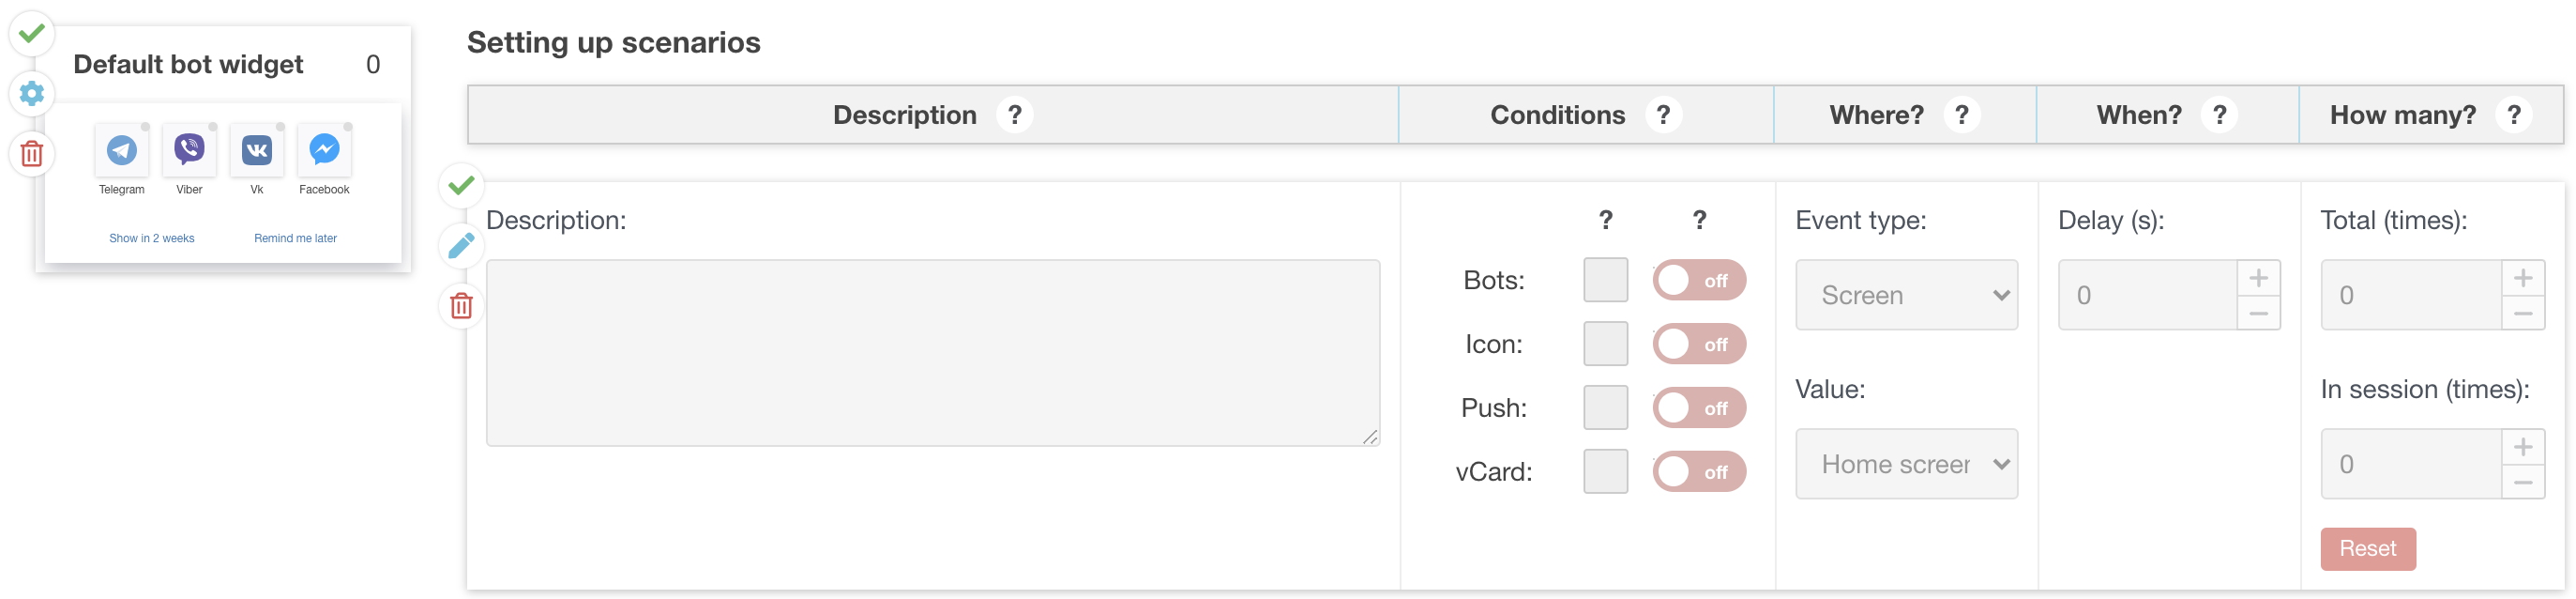
h. Please make sure your widgets are ACTIVATED, only active widgets will function for users. Active ones marked green ![]() , and deactivated ones marked gray
, and deactivated ones marked gray ![]() To activate/deactivate press this mark, it will switch color, showing it’s status.
To activate/deactivate press this mark, it will switch color, showing it’s status.
i. The widget settings above makes it pop, every time a user enters the Home page.
3. Enter the app as your selected testing user/object:
a. open objects
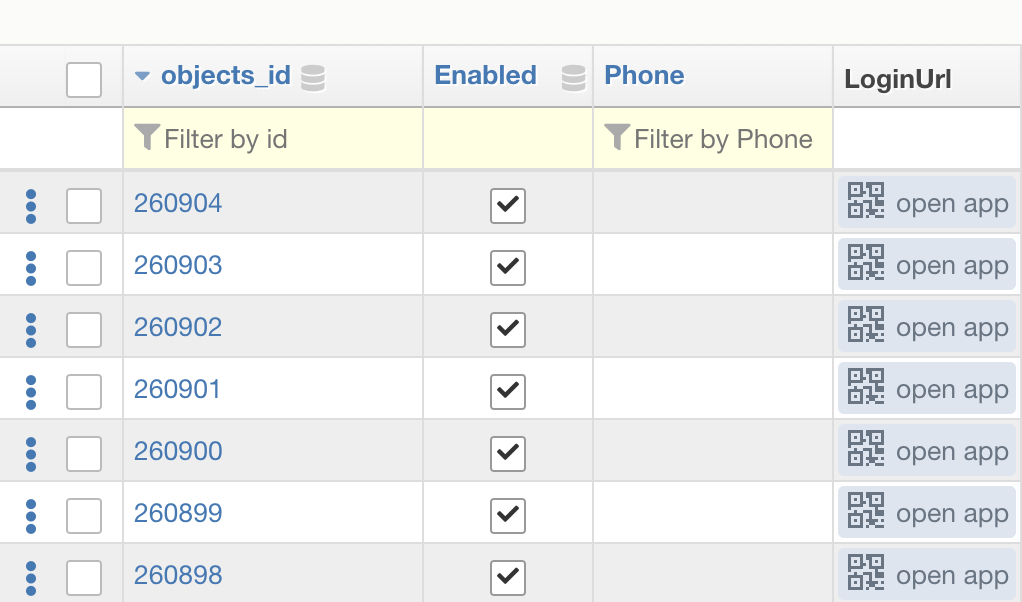
b. The LoginUrl column allows running the app as any of these objects/users. Click the “open app” on the one you need
c. run the app on your phone by snapping a qr code, or copy/paste the short link to your phone. If you want to keep testing on your desktop (not recommended for messengers) - click open in New Window.
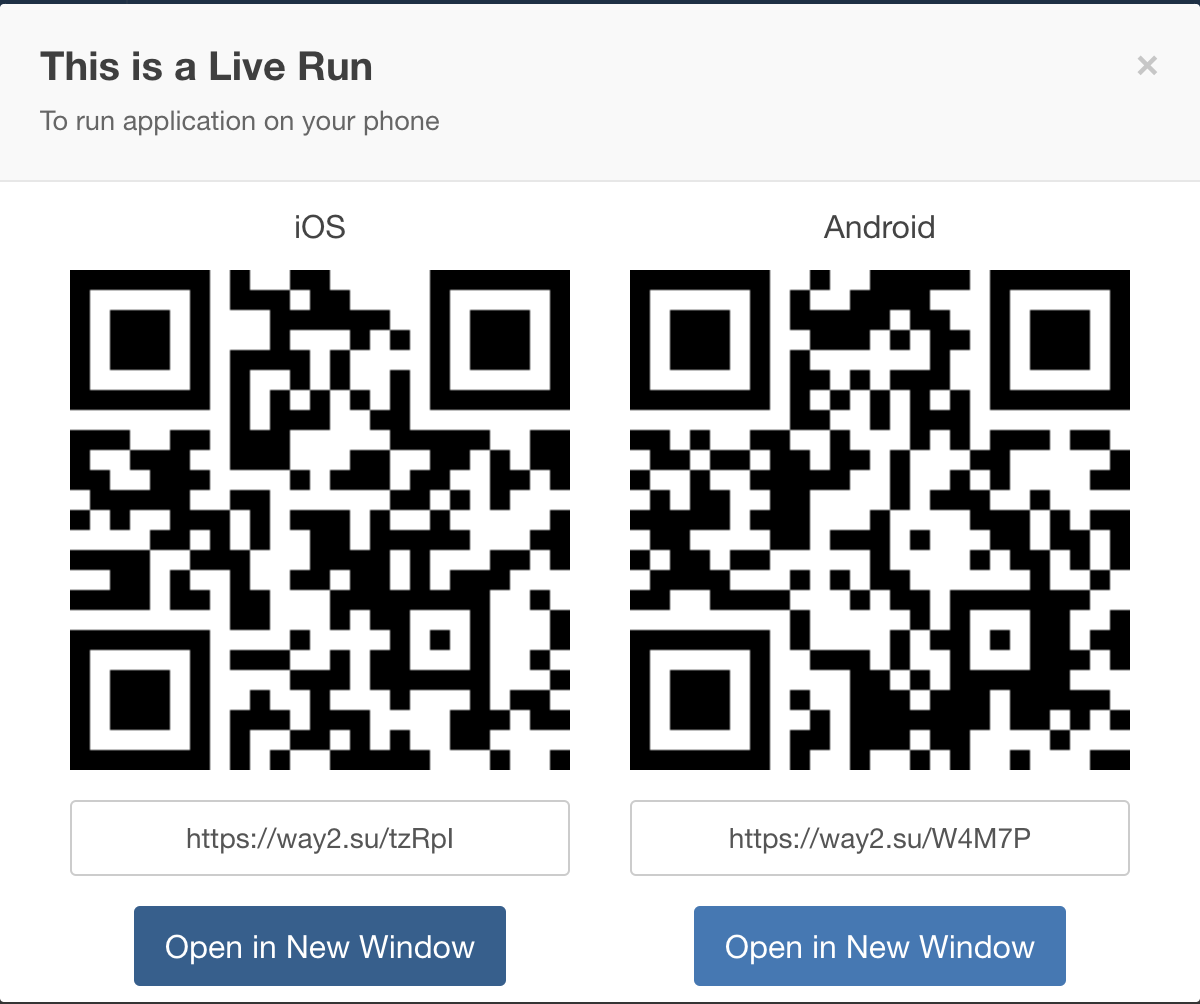
d. use Google Chrome or Safari.
e. You device will have your app’s Home Page appear
4. Wait for the widget to appear.
If it does not - check that you did not set any delays at all. Also the widget may not pop if you are doing this for the second time and did press “show me in 2 weeks” or “remind me later”, which is done not to annoy users ( in this case the widget can be called again after 15 minutes timeout).
Note that this pop up automatically shows all messengers, which bots are connected to in the Bots section of the platform.
5. Press an icon of the messenger you want to test.
It MUST BE INSTALLED on the device where you are testing.
6. Press a Start button in Messenger or type and send any text to start a bot connection.
7. As a response you will get a welcome message and a link to your app
8. Now this user/object is connected to a messenger bot and you can send messages to it.
To see which channels/messengers are already conencted to each user/object you can in Objects tab of the platform. Column names are ViberChannel, FacebookChannel, Telegram Channel, VKChannel.
Where:
“not set” - this user/object never connected this channel
“on” - user/object has a channel connected and messages are allowed
“off” - user/object did connect this channel, BUT forbade sending messages to it
In case you do not see such columns in your Objects tab:
a. In Objects on you right press Setup Table: 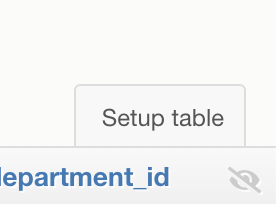
b. find and mark needed channels ViberChannel, FacebookChannel, Telegram Channel, VKChannel
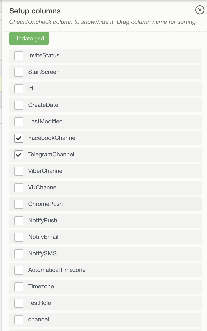
c. Press the green button at top to save settings - 
d. These columns will be added to your Objects grid table.
9. Send a manual message to your test user/object
a. locate a user/object which you have connected a messenger bot for at the steps above, it will have this green switch ON.
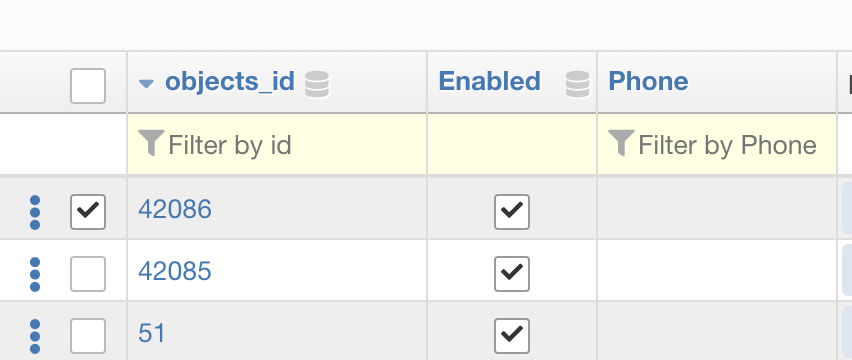
b. Check the leftmost column for this user/object:
c. You will see 2 buttons under the table - 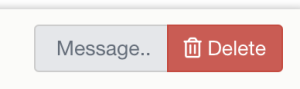
d. Click Message. The message window will pop:
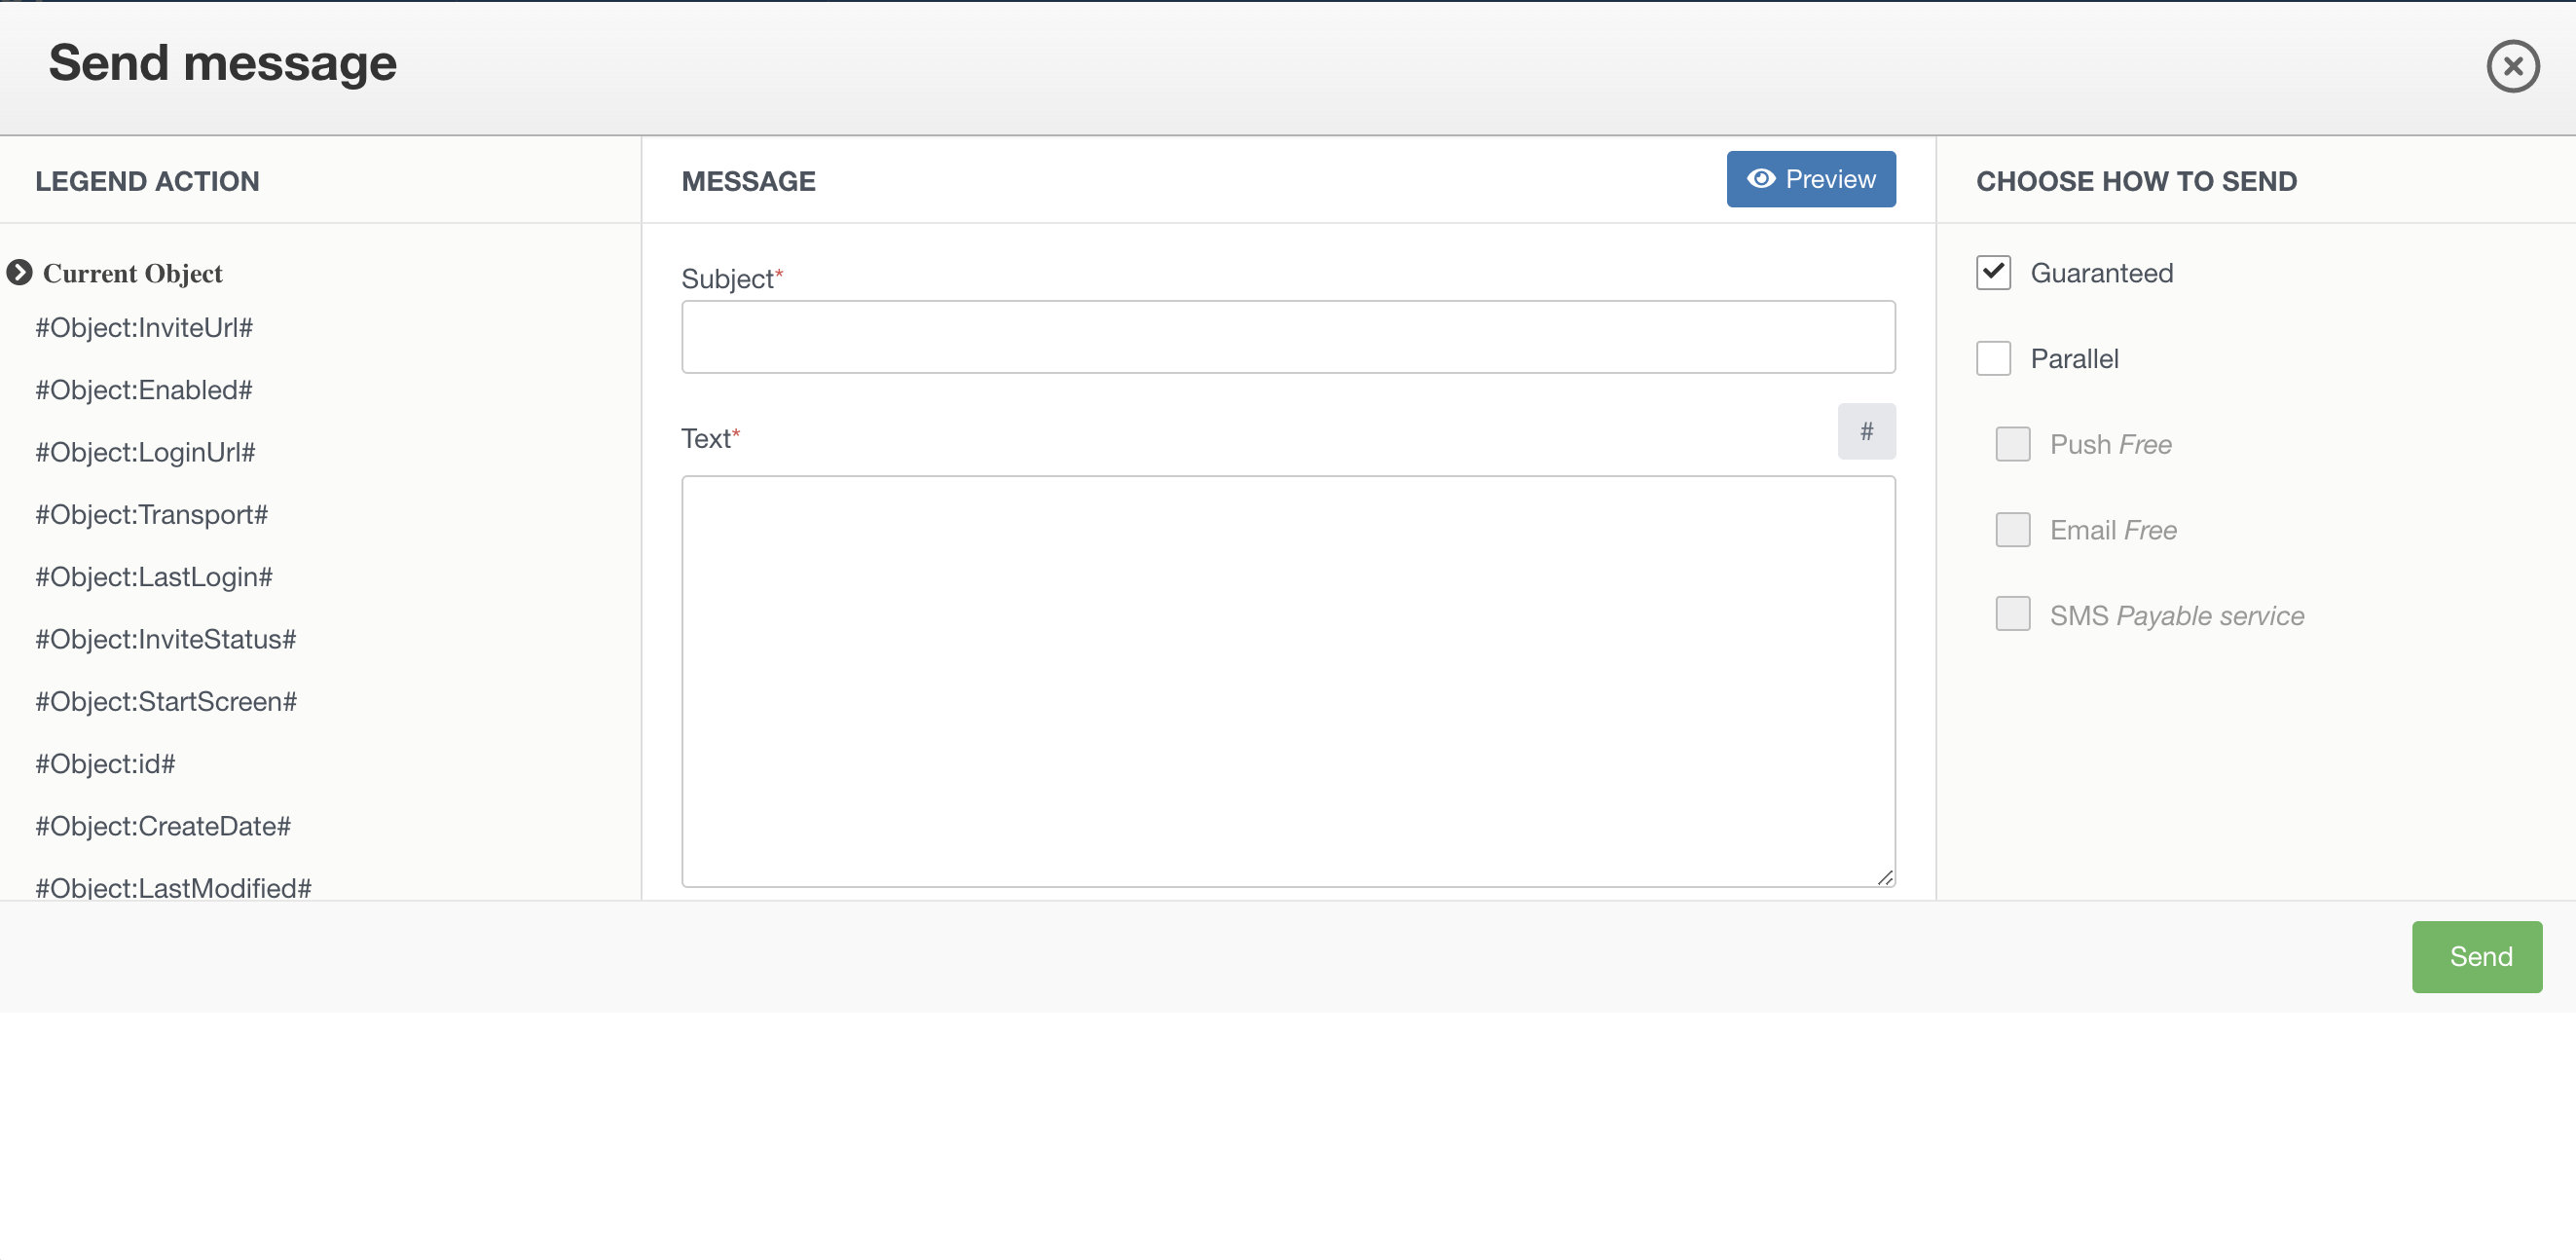
e. Input texts into Subject and Text. You can also use Object’s hashtags on your left to fill in data from Objects column into the message.
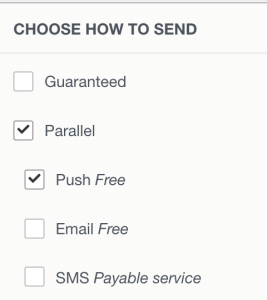
f. Select Push only as a sending method. That means the platform will only try to deliver Push messages in whichever mobile channel a user had connected.
g. press the green Send button.
h. the message will now be sent to the selected object
10. Wait for the message to appear.
It could come with a delay, depending on the actual servers load and network congestions.