...
The panel below shows how different would be a choice foe Android and iOS users.
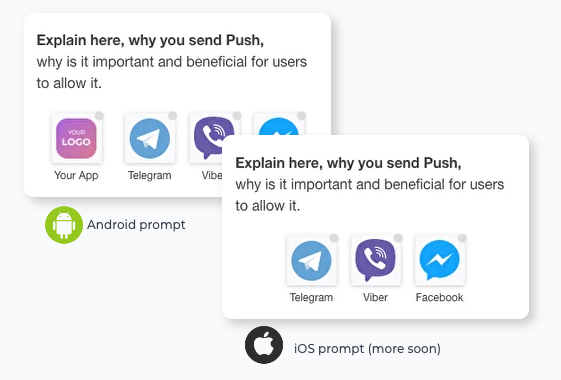
The difference here is that iOS devices are incapable of sending Push into browser, which is compensated by a choice of mobile messengers. Android
| Anchor | ||||
|---|---|---|---|---|
|
1. Create user IDs
This creates addresses within your app for each user to where to send Push to.
...
| Note |
|---|
This field is case sensitive, so "F1g" is NOT THE SAME as "f1g", so you need to address your users with exactly the same ID as you've created it with. |
2. Set up Push request widgets.
This receives and records the Push permission, which channel each user chooses. This prompt will only appear after user has logged into you app from an icon, unless you use a "managed prompts" link, as described here, to give you a choice on which prompts to show and in which order.
Sending Messages through multichannel Push API
To address any of your users, who gave permission to receive Push notification you only need one API method:
POST - https://ppp-admin.
...
mobsted.
...
com/api/v8/object/sendpush
| Code Block | ||
|---|---|---|
| ||
{
"applicationId": 1,
"extId": "100500",
"title": "Hello",
"message": "It`s message about your order#order.#"
} |
Where:
"ppp-admin.mobsted.com" is the URL address of your mobsted account
"applicationId" - is the same ID which you see in your long links
...
For authenticating your sending party you can use static basic auth keys, which you can find here:

Or dynamic JWT keys, which you can find here:

| Content by Label | ||||||||||||||||||
|---|---|---|---|---|---|---|---|---|---|---|---|---|---|---|---|---|---|---|
|
...