Step-by-step guide
Create user actions: switch screens, change data and make API calls
Assign any platform actions to any app user actions:
USER ACTIONS that can be processed by platform | PLATFORM ACTIONS assignable to user actions |
Button click[Step by step example →] | Go to screen - redirect user to another app screen, back to previous screen or to external URL. |
Image click[Step by step example →] | Scroll to - scroll to top / bottom of the current screen. |
Link click[Step by step example →] | Create Event - save files and data using Hashtags as Event in the platform events table. [Step by step example →] |
App screen refresh[Step by step example →] | Save to Object column - store data using Hashtags in Object's particular column. [Step by step example →] |
| Execute Operations - execute selected operation on button click. [Step by step example →] |
| Set Variable - create variable on button click. Variables store temporary data which can be used in other parts of the platform via Hashtags links. [Step by step example →] |
______________________________________________
Open any app you have
Click on it on the screen
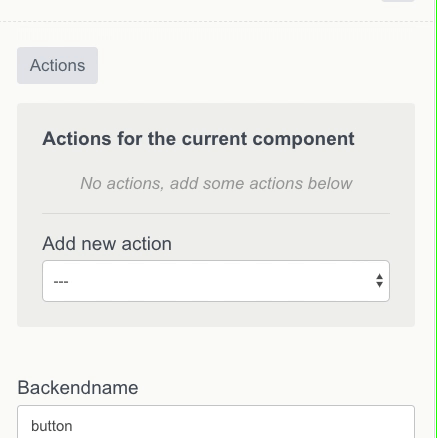
Click Actions button on the right hand side
Select the necessary action from Add new action dropdown.

____________________________
Mouse over any of User screens on the bottom of Constructor
Select Edit screen settings by clicking the pen

Click Actions button on the right hand side on Constructor screen
Select the necessary action from Add new action dropdown.
__________________________________________
In this example we createText Input andButton which saves the data from the text input to Event.
How to set it up:
Open any app you have and click Add screen
Drag and drop Text Input element, set properties:
Backendname = Email
Placeholder = Enter your Email
Drag and drop another Text Input element, set properties:
Backendname = Question
Placeholder = Enter your question
Add Button element to app screen, set properties:
Backendname = Contact
Caption Button = Contact me
Click Actions button on the right hand side
Select Create Event from Actions dropdown
Name the action as Contact Action
In Data table click Add item and set:
Key = Email
Value = #Backendname:Email#
Click Add Item and add another pair:
Key = Question
Value = #Backendname:Question#

Click Save
Click Save Screen
Click Preview to launch the app from the current screen
Fill in Text Input and submit the data
Get back to Constructor
Check the data stored in Events:
Click on Backend in the header to get to Events table
Click on the row with the last event
Check your data in Contact action section.

_____________________________________________________
In this example we create Text input and Button which saves the data from text input to Name and Email columns in Objects.
How to set it up:
Open any app you have and click Add screen
Drag and drop Text Input elements, set properties:
Backendname = Name
Backendname = Email
Add Button element to app screen, set properties:
Caption button = Send
Click Actions button on the right hand side
Select Save to Object Column action from Actions dropdown
In Data table click Add item and set Column name and Value data:
Name = #Backendname:name#
Email = #Backendname:email#
Click Save
Click Save Screen

9. Click Preview to launch the app from the current screen
10. Fill in Text Input and submit the data

11.Get back to Constructor
12. Click Objects in the header to check the data stored in Object table.

______________________________________________
Pick Execute Operations from Add new action dropdown list
Pick an existing оperation from Add operation drop down list.
Click Save
Click Save Screen.
Note: you need to create the operation before calling it. Please refer to Use any external & internal API article for more info.
______________________________________________
Variables store temporary data which can be used in other parts of the platform via Hashtags links.
Drag and dropButton element to any screen you have
Click Actions button on the right hand side
Pick Setvariable from Add new action dropdown list
Click Add item under the Variables label
Name your variable
Use any combination of Hashtag link to set the variable's value
Add as many Name/Value pairs as you need. Add Item button will appear each time you add and fill in Name/Value fields.
Click Save
Click Save Screen.
Please, check Variables article for more info.
| Info |
|---|
Related articles
| Content by Label | ||||||||||||||||||
|---|---|---|---|---|---|---|---|---|---|---|---|---|---|---|---|---|---|---|
|
...
| Page properties | ||
|---|---|---|
| ||
|